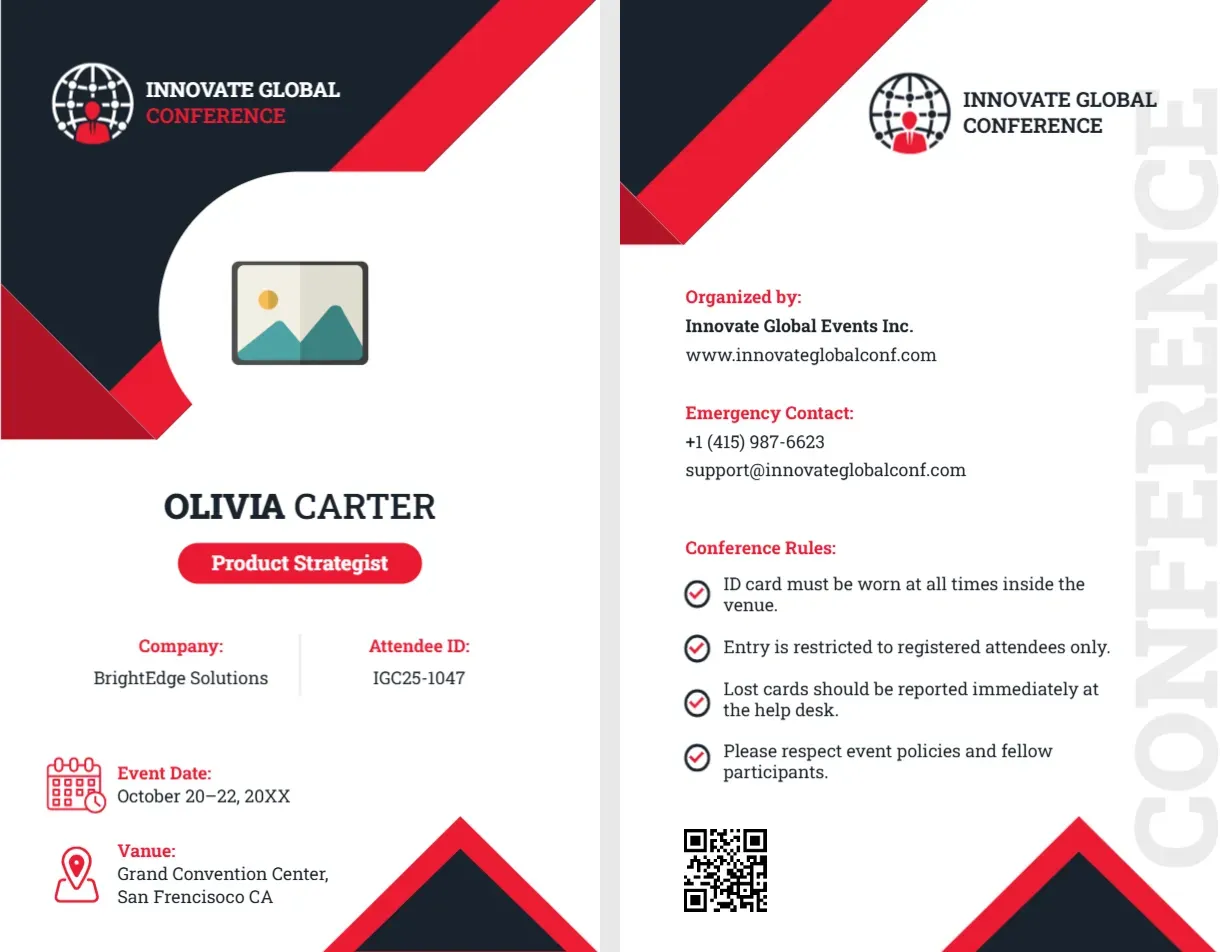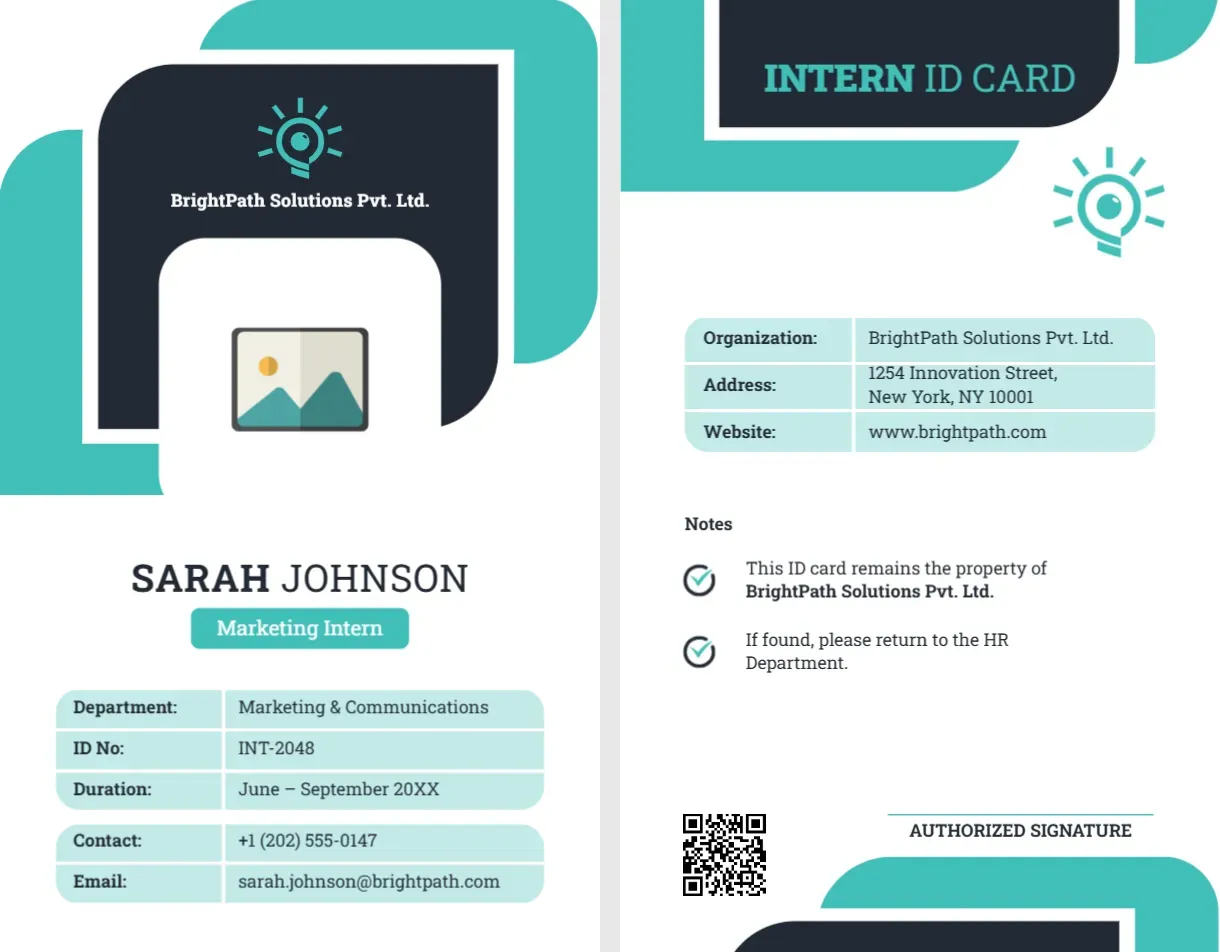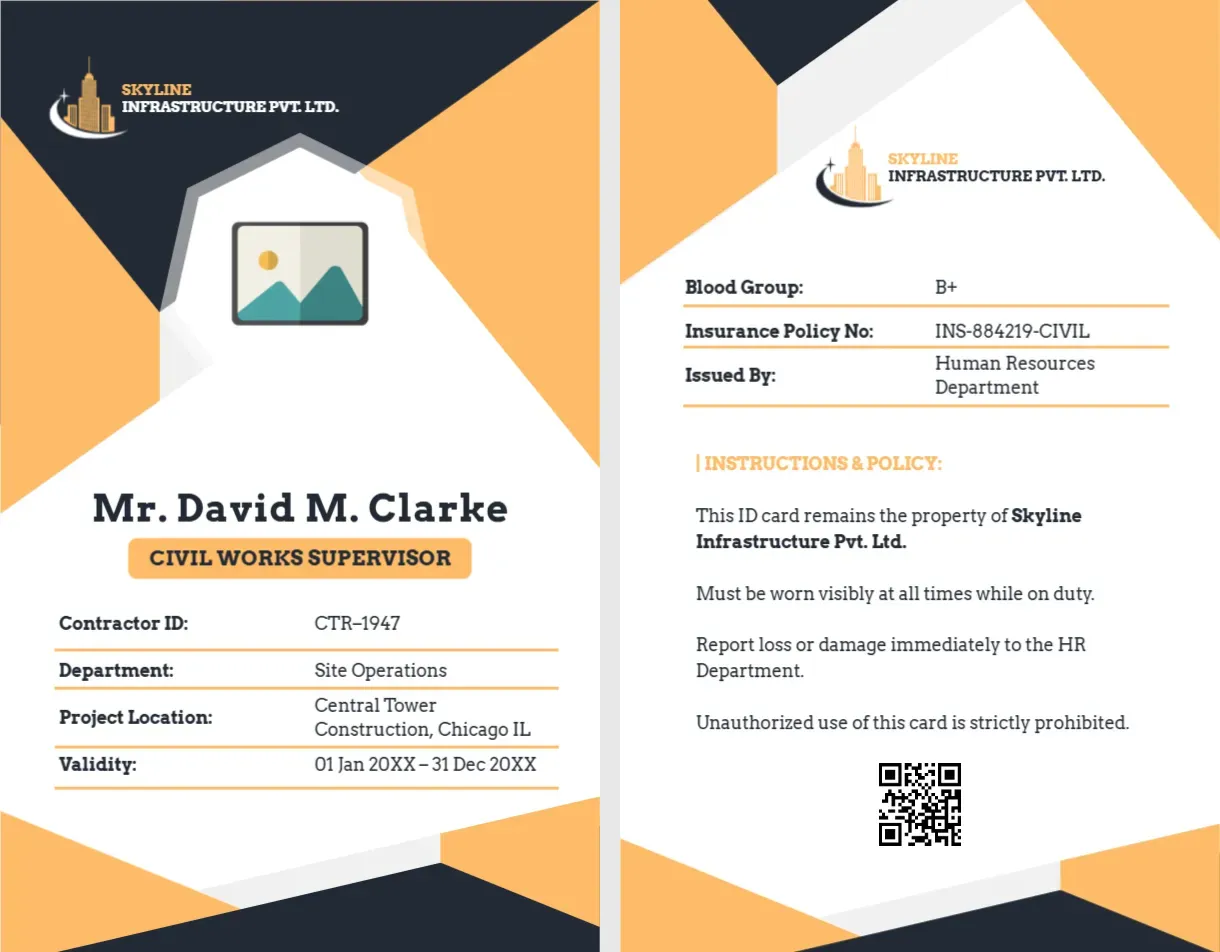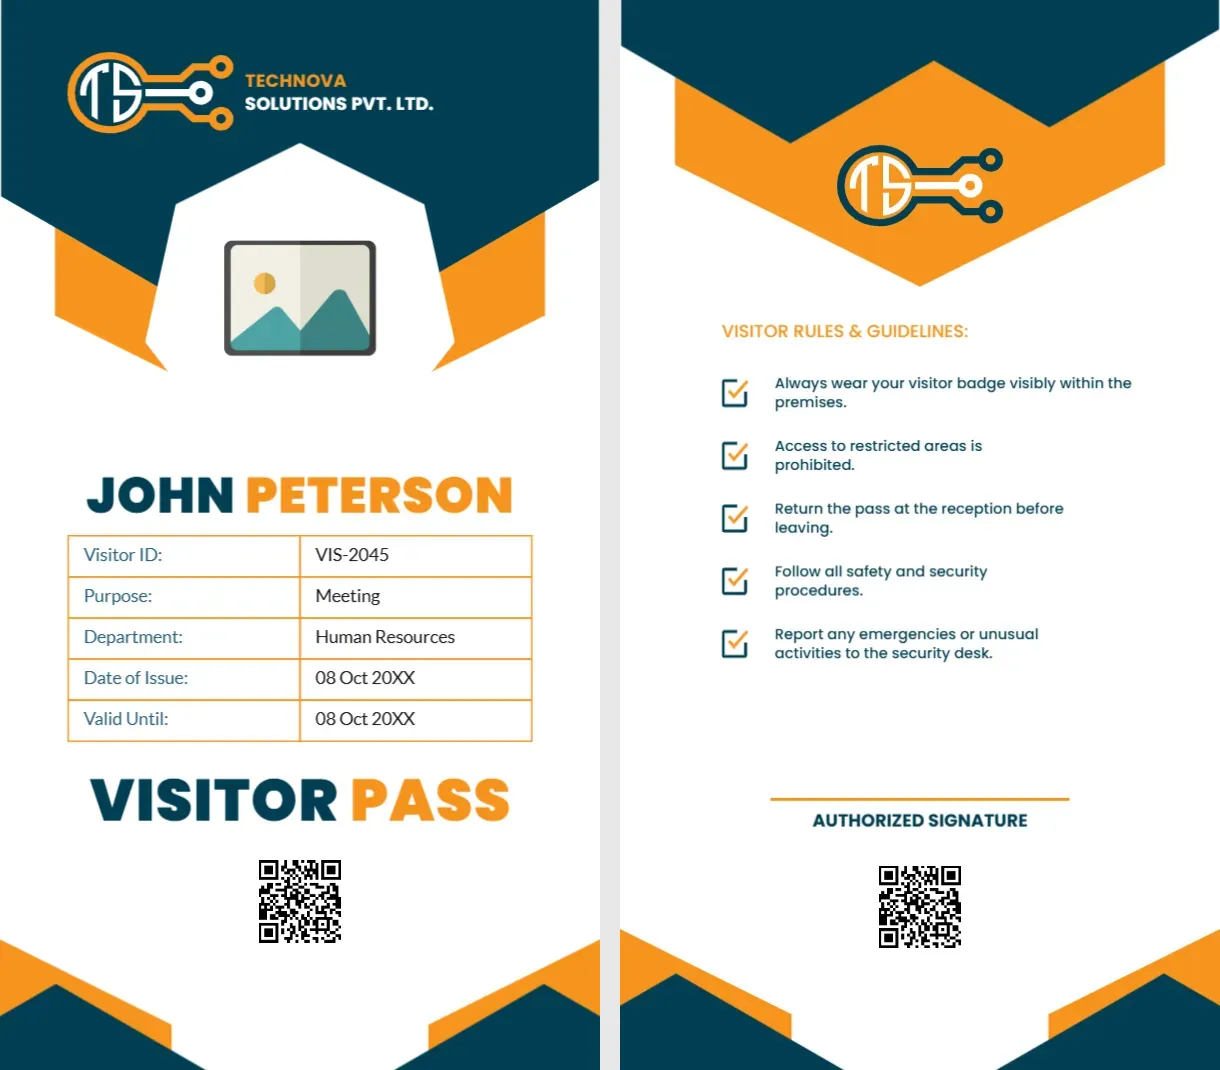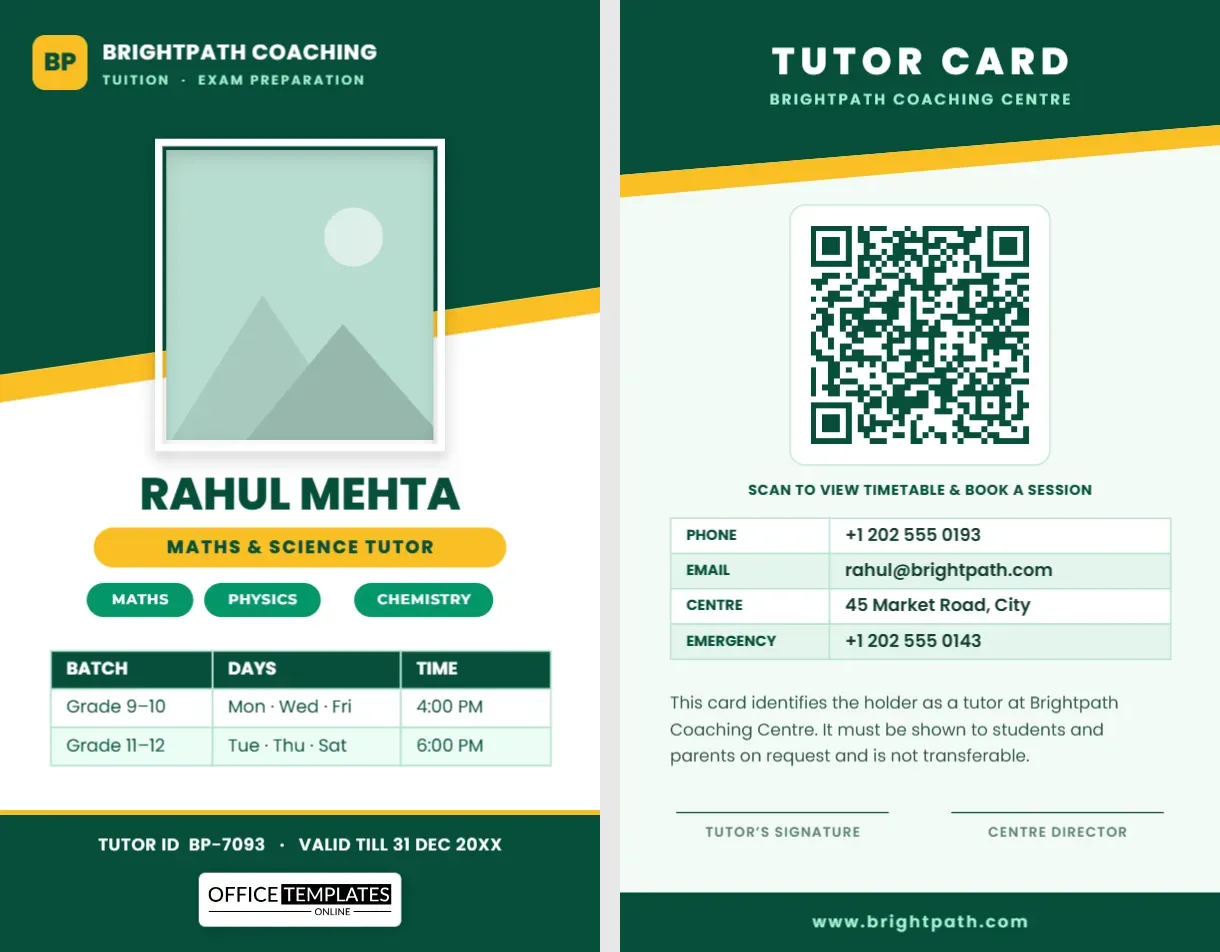
Picture a parent standing at the door of a coaching centre on a Saturday evening. They have never met the person who will teach their child physics, and they are about to hand over a lot of trust. What tells them this tutor is genuine? A clear, professional card. This tutor and coaching centre ID card template was designed with that moment in mind. It lists the subjects, shows the batch timetable and carries a QR code that leads back to your centre.
Why private tutors and coaching centres need an ID
School teachers have a school behind them. Tutors often do not, at least not in the eyes of parents. A card does several jobs at once:
- It proves that the person is part of a real organisation and not a stranger.
- It tells students and parents what the tutor teaches and when.
- It lets security staff at a shared building or apartment block let the tutor in.
- It makes a small centre look established, which helps enrolment.
How the front is organised
Emerald header with a gold slash
A dark green header cuts across the top at an angle, finished with a thin gold band. It holds a gold tile with the centre’s initials, the centre name and the line “Tuition · Exam Preparation”. Replace the words with your own centre name and specialisation, for instance “Board Exam Coaching” or “IELTS and SAT Prep”.
Framed photo that overlaps the header
The tutor’s picture sits in a white frame that breaks across the diagonal, which gives the card depth. The photo is a pattern-filled shape, so a new picture is cropped into the same frame instead of resizing it.
Name, role and subjects
The name is set in heavy type, and a gold pill beneath names the role, such as “Maths and Science Tutor”. Three green chips list the subjects: Maths, Physics and Chemistry. Rename them to whatever the tutor teaches.
The batch table
This is the part tutors love. A real table with a dark header lists each batch, the days it meets and the time. Add a row for a weekend class or a doubt-clearing session, or delete a row if the tutor only takes one batch. Because it is an editor table, you can adjust column widths and text without redrawing anything.
Green footer band
A dark green band at the bottom shows the tutor ID and the validity date, along with a small logo plate that serves as our template credit.
The back: scan to book
Page two carries a large QR code in the centre with the caption “Scan to view timetable and book a session”. Point it at your booking page, a WhatsApp link or a timetable on your website. Below it are the tutor’s phone, email, centre address and an emergency contact. A short paragraph tells students that the card must be shown on request and cannot be transferred, and there are signature lines for the tutor and the centre director.
Wording ideas for different kinds of tutors
- Home Tutor · Grade 6 to 10
- Online Tutor · Spoken English
- Exam Coach · Board Preparation
- Language Tutor · French and German
- Music Tutor · Piano and Guitar
- Test Prep Specialist · SAT and ACT
Set it up in a few minutes
- Click the photo frame and use Replace Image to add the tutor’s portrait.
- Type the tutor’s name and role.
- Edit the three subject chips.
- Update the batch table with real days and times.
- Change the tutor ID and expiry date in the green band.
- On page 2, click the QR code and paste your booking link, then update the contact rows.
- Download the card as a PDF, PNG or JPG.
Building trust with a few small details
Parents notice small things. Put the centre’s registered name on the card, keep the photo recent and use an expiry date so an old card cannot be reused. If your centre has a licence or registration number, add it as a new row in the back table. If the tutor visits homes, encourage them to show the card at the door and share the centre’s phone number so parents can confirm the visit.
Printing and handing out
The card is 2.125 x 3.375 inches, the standard CR80 size, so it fits any lanyard holder or clear card sleeve. If you are running a small centre, a local print shop can produce a batch on PVC for very little, and you can also print on heavy paper at home and laminate it. Print at 300 dpi and choose a matte or satin finish so the green stays rich without glare. Before printing a run, test the QR code with two different phones.
What parents and tutors ask
Can I use it for online tutors who never visit in person?
Yes. Send it as an image or PDF in your first message to a parent, and change the batch table to show online session times.
Can I show the fee on the card?
You can add a row to the table, though many centres prefer to keep fees on a separate price list.
What if the tutor teaches only one subject?
Delete two of the chips and centre the remaining one, or replace them with a line of text.
Can the card be used by a single independent tutor?
Yes. Enter your own name as the centre name and use the card as a personal credential.
Using the card to grow your centre
A good card is also a small piece of marketing. Every time a tutor shows it, a parent sees your centre name, your colours and your website. Add a short URL under the logo tile so that families can find you again, and point the QR code at a page that lists your courses. Some centres hand a spare card to each student’s family, with the tutor’s name and timetable, so the same design does two jobs. If you run several branches, add the branch name to the header line and keep everything else identical.
A tutor who arrives with a professional card starts every lesson with more trust. Open the template, add the details and download a card your students’ families will recognise.