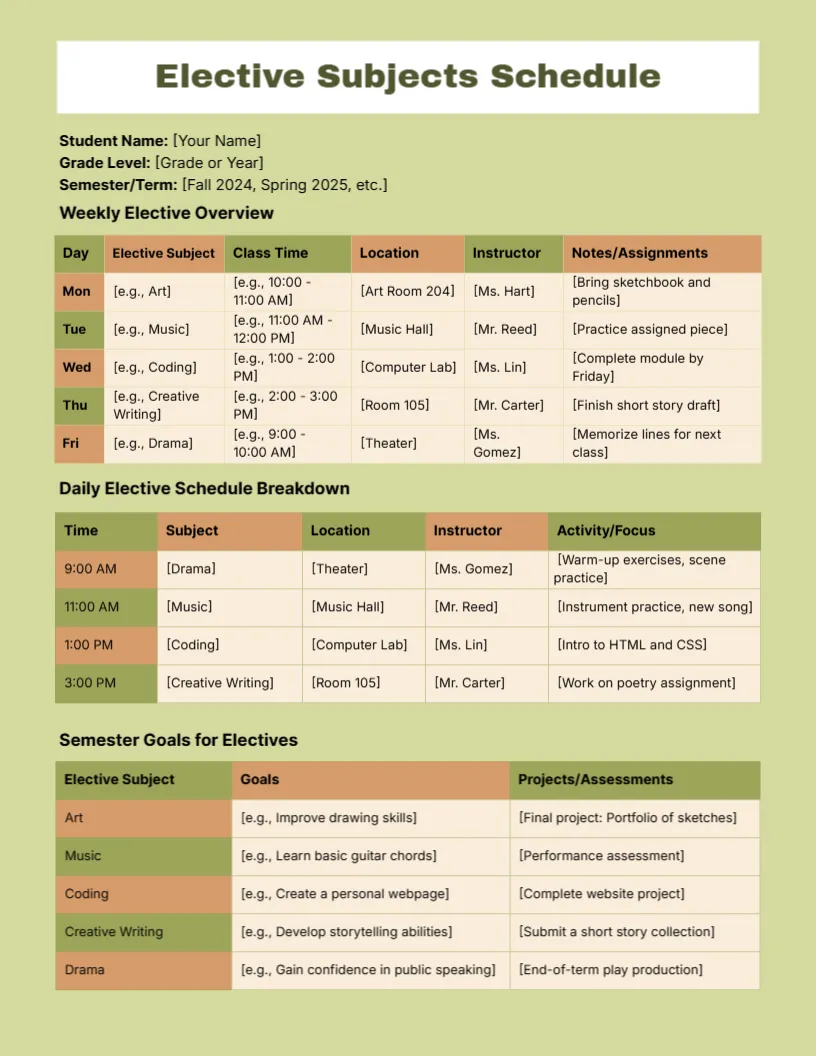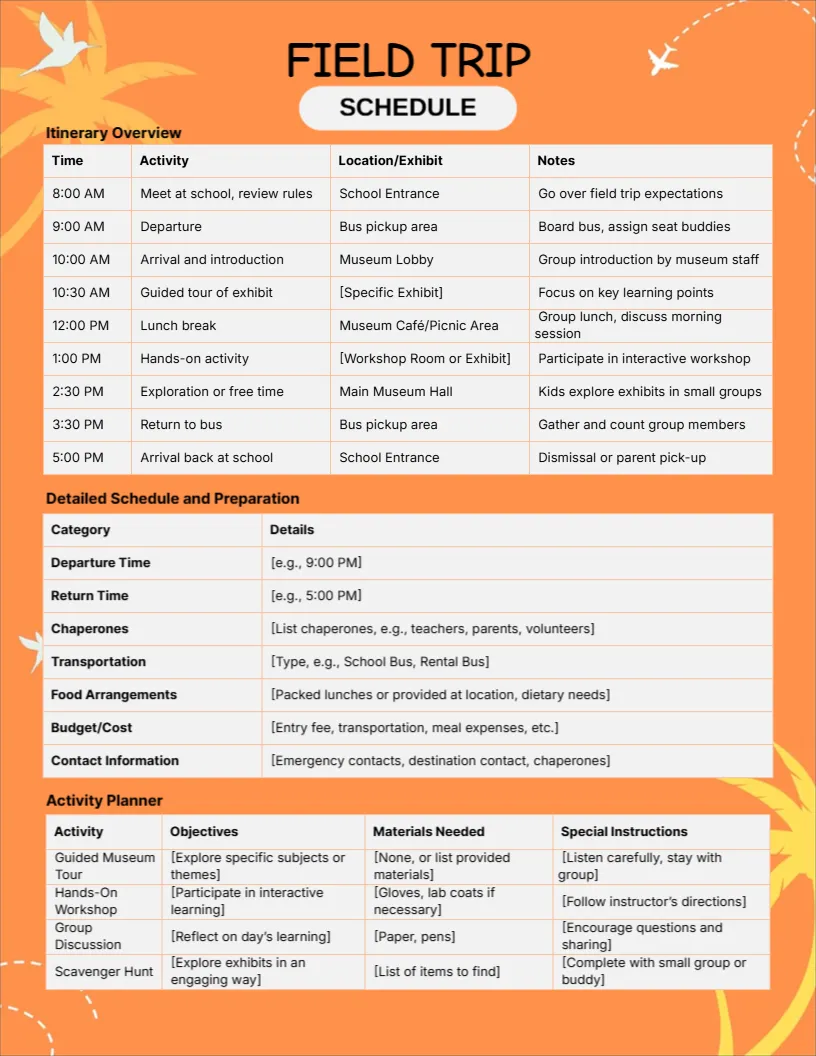
Every school year starts with the same question at home: what does my child have on Tuesday? A clear class timetable answers it for the whole family, and this one is hard to miss. The Monday-to-Friday grid sits inside a bright yellow school bus, rolling along a road at the bottom of the page.
All Aboard: the Design at a Glance
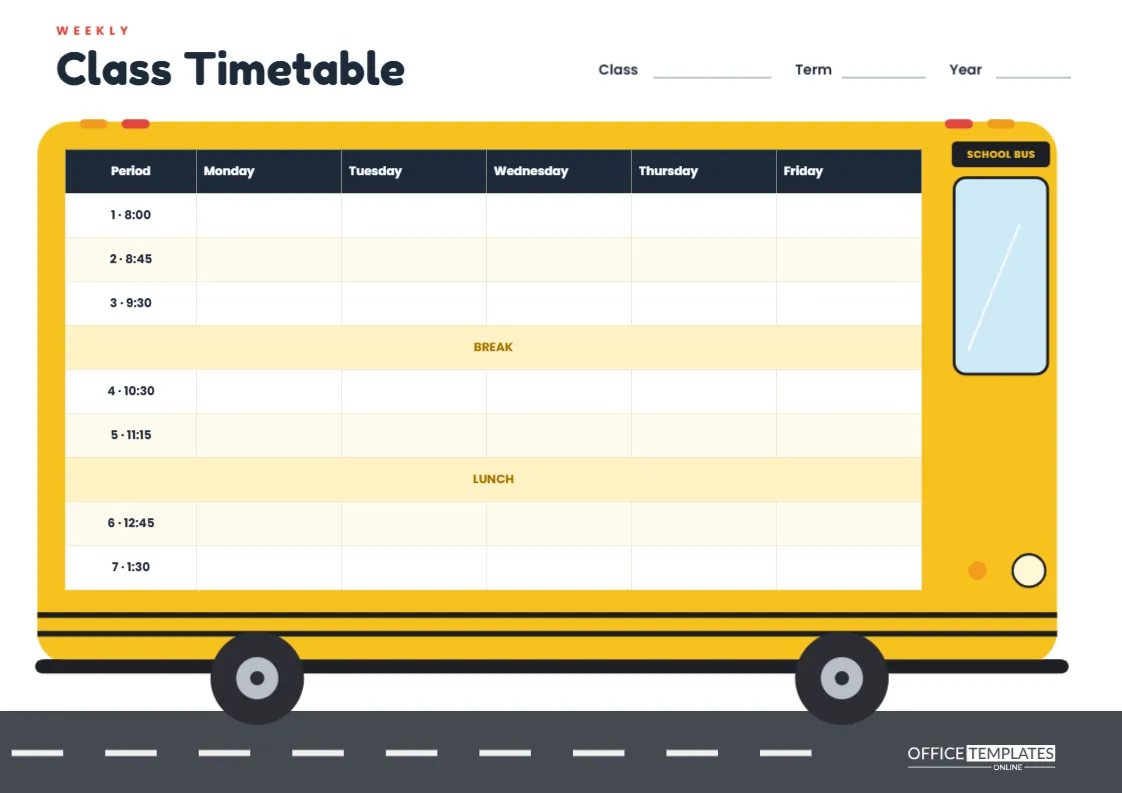
The page is A4 landscape (297 x 210 mm), which gives each weekday a generous column. The bus body fills most of the sheet in sunny school-bus yellow, with rounded corners, amber and red marker lights on the roof, two black rub rails along the side and a black bumper underneath. At the front you will see a tall windshield, a round headlight, an orange indicator, and a small black School Bus sign. Two dark wheels with grey hubcaps sit on a charcoal road with white lane markings, and our logo rides along in white at the right end of the road.
Above the bus, the title Class Timetable is set in the rounded Fredoka One typeface with a red Weekly label over it, and there are lines for Class, Term, and Year on the right.
Inside the Bus: Periods, Break and Lunch
The timetable itself is a real table with a navy header row reading Period, Monday, Tuesday, Wednesday, Thursday and Friday. The first column is pre-filled with a typical school day:
- Period 1 at 8:00, Period 2 at 8:45, and Period 3 at 9:30
- A Break row stretched across the whole week
- Period 4 at 10:30 and Period 5 at 11:15
- A Lunch row, also spanning every day
- Period 6 at 12:45 and Period 7 at 1:30
The break and lunch rows are merged cells on a soft butter-yellow background, so the day visibly splits into morning and afternoon blocks. Everything else is blank and ready for subject names, room numbers, or teacher initials.
Adapting the Timetable to Your School Day
No two schools ring the bell at the same time. Here is how to reshape the grid for the most common schedules without starting over.
| Your school runs… | What to change in the table |
|---|---|
| Six periods instead of seven | Delete the last period row in Edit Table Data. |
| Eight or nine periods | Use + Add Row, then type the new period times. |
| Two short breaks | Add a row after Period 5 and type BREAK into it. |
| A rotating A/B week | Print two copies and write Week A and Week B in the Term line. |
| Saturday classes | Increase the column count in the Table panel and label the new column Saturday. |
| An afternoon club slot | Rename the last row Clubs and list each day’s activity. |
Filling In Subjects So They Are Easy to Read
Keep each cell short: the subject name first, then the room. Maths · R12 is quicker to scan than a full sentence. If the same subject appears on several days, write it identically each time so the eye picks out patterns. Some families colour each subject with a highlighter after printing, which turns the bus windows into a colour-coded week that even young children can follow before they can read every word.
For secondary students with specialist rooms, adding the teacher’s initials helps on the first few days of term, when every corridor looks the same.
Editing the Bus in the Online Editor
- Double-click the timetable to open Edit Table Data. Type into any cell, change period times in the first column, and add or remove rows.
- Click the title or the Class, Term and Year labels to rename them. Class Timetable can become Our Family Timetable or Grade 4 Schedule.
- Click the yellow bus body and pick another fill if your school uses a different colour. The bus details (lights, windshield, rails and wheels) are grouped into one object that sits behind the table, so you can still click straight into the timetable.
- Recolour the table header in the Table panel to match your school colours.
Printing Tips for a Big Yellow Page
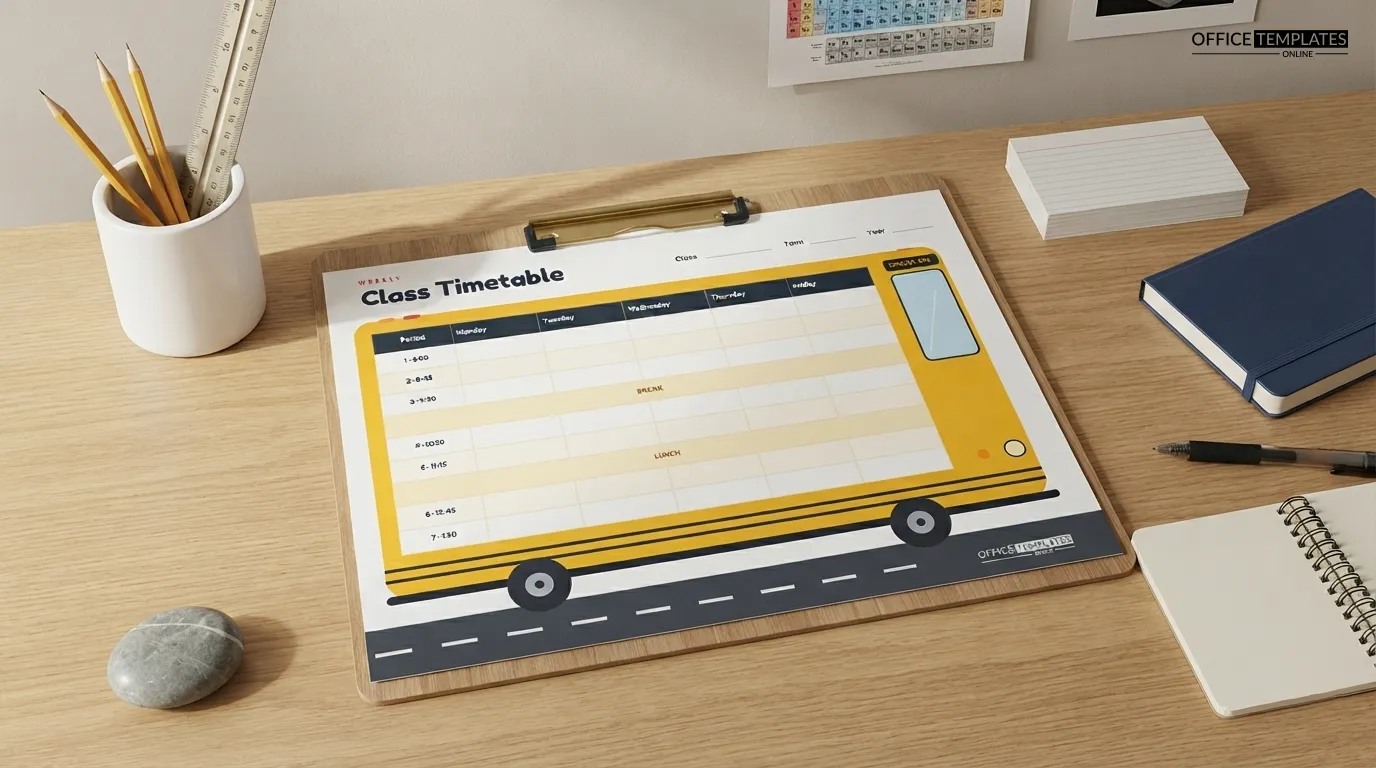
A large yellow area and a dark road use a noticeable amount of ink. For one copy on the fridge, a normal inkjet print is fine. For a class set, ask a print shop for colour copies, which are usually cheaper per page than home cartridges. Print at Actual size on A4 landscape so the columns stay evenly spaced. A timetable gets handled every day, so 120 to 160 gsm card or a quick laminate will keep it from curling. If you laminate, a dry-wipe marker lets you update room changes without reprinting.
Where to Put It
Pin one copy by the front door so the morning question, Do I need my PE kit today? answers itself. Put another inside the school bag or planner. Teachers can print a larger copy for the classroom wall, and parents of more than one child can print each child’s bus in a different colour.
One Bus Per Child, One Glance Per Morning
Households with two or three school-age children often juggle different start times, PE days and club afternoons. Make one copy of the template per child, change the bus colour on each (yellow for one, a soft green or orange for another) and type the child’s name into the Class line. Hang them side by side and the morning check takes seconds: whose bag needs a swimming kit, who finishes early on Wednesday, and which days both children have music. Keeping the same layout for every child matters more than it seems, because everyone learns where to look.
At the start of each new term, open the saved design, update only the cells that changed, and download a fresh copy. The period times and break rows stay in place, so a term change takes a couple of minutes.
Things People Ask About This Timetable
Can I use it for homeschool lessons?
Yes. Replace the times with lesson blocks and the subjects with your own plan. The break and lunch rows still make sense at home.
What if my periods start at different times each day?
Leave the first column as period numbers only and write the start time inside each day’s cell instead.
Is the bus too childish for older students?
Younger pupils love it, but plenty of teens enjoy it too. If you want a calmer look, change the bus fill to a softer colour; the layout still works.
Ready to Roll
Type your subjects in once, print it, and the whole family knows where the week is going. Update it each term, and the school bus keeps running on time.