You are engaged. Congratulations! Now the questions start: when should you book the venue, when do invitations go out, and when do you need the licence? This wedding planning calendar answers them with a simple countdown and a year calendar to mark every milestone. The steps below show exactly how to use it, starting on the day you print it.
Step 1: Pick Your Wedding Date and Write It Down
Everything else in the countdown depends on the date. At the foot of the page, two gold lines read Our wedding date and Days to go. Write the date as soon as it is confirmed with your venue, and circle it boldly on the year calendar. Then count the days and write the number on the second line. Updating that number every few weeks is a small joy that keeps you both excited.
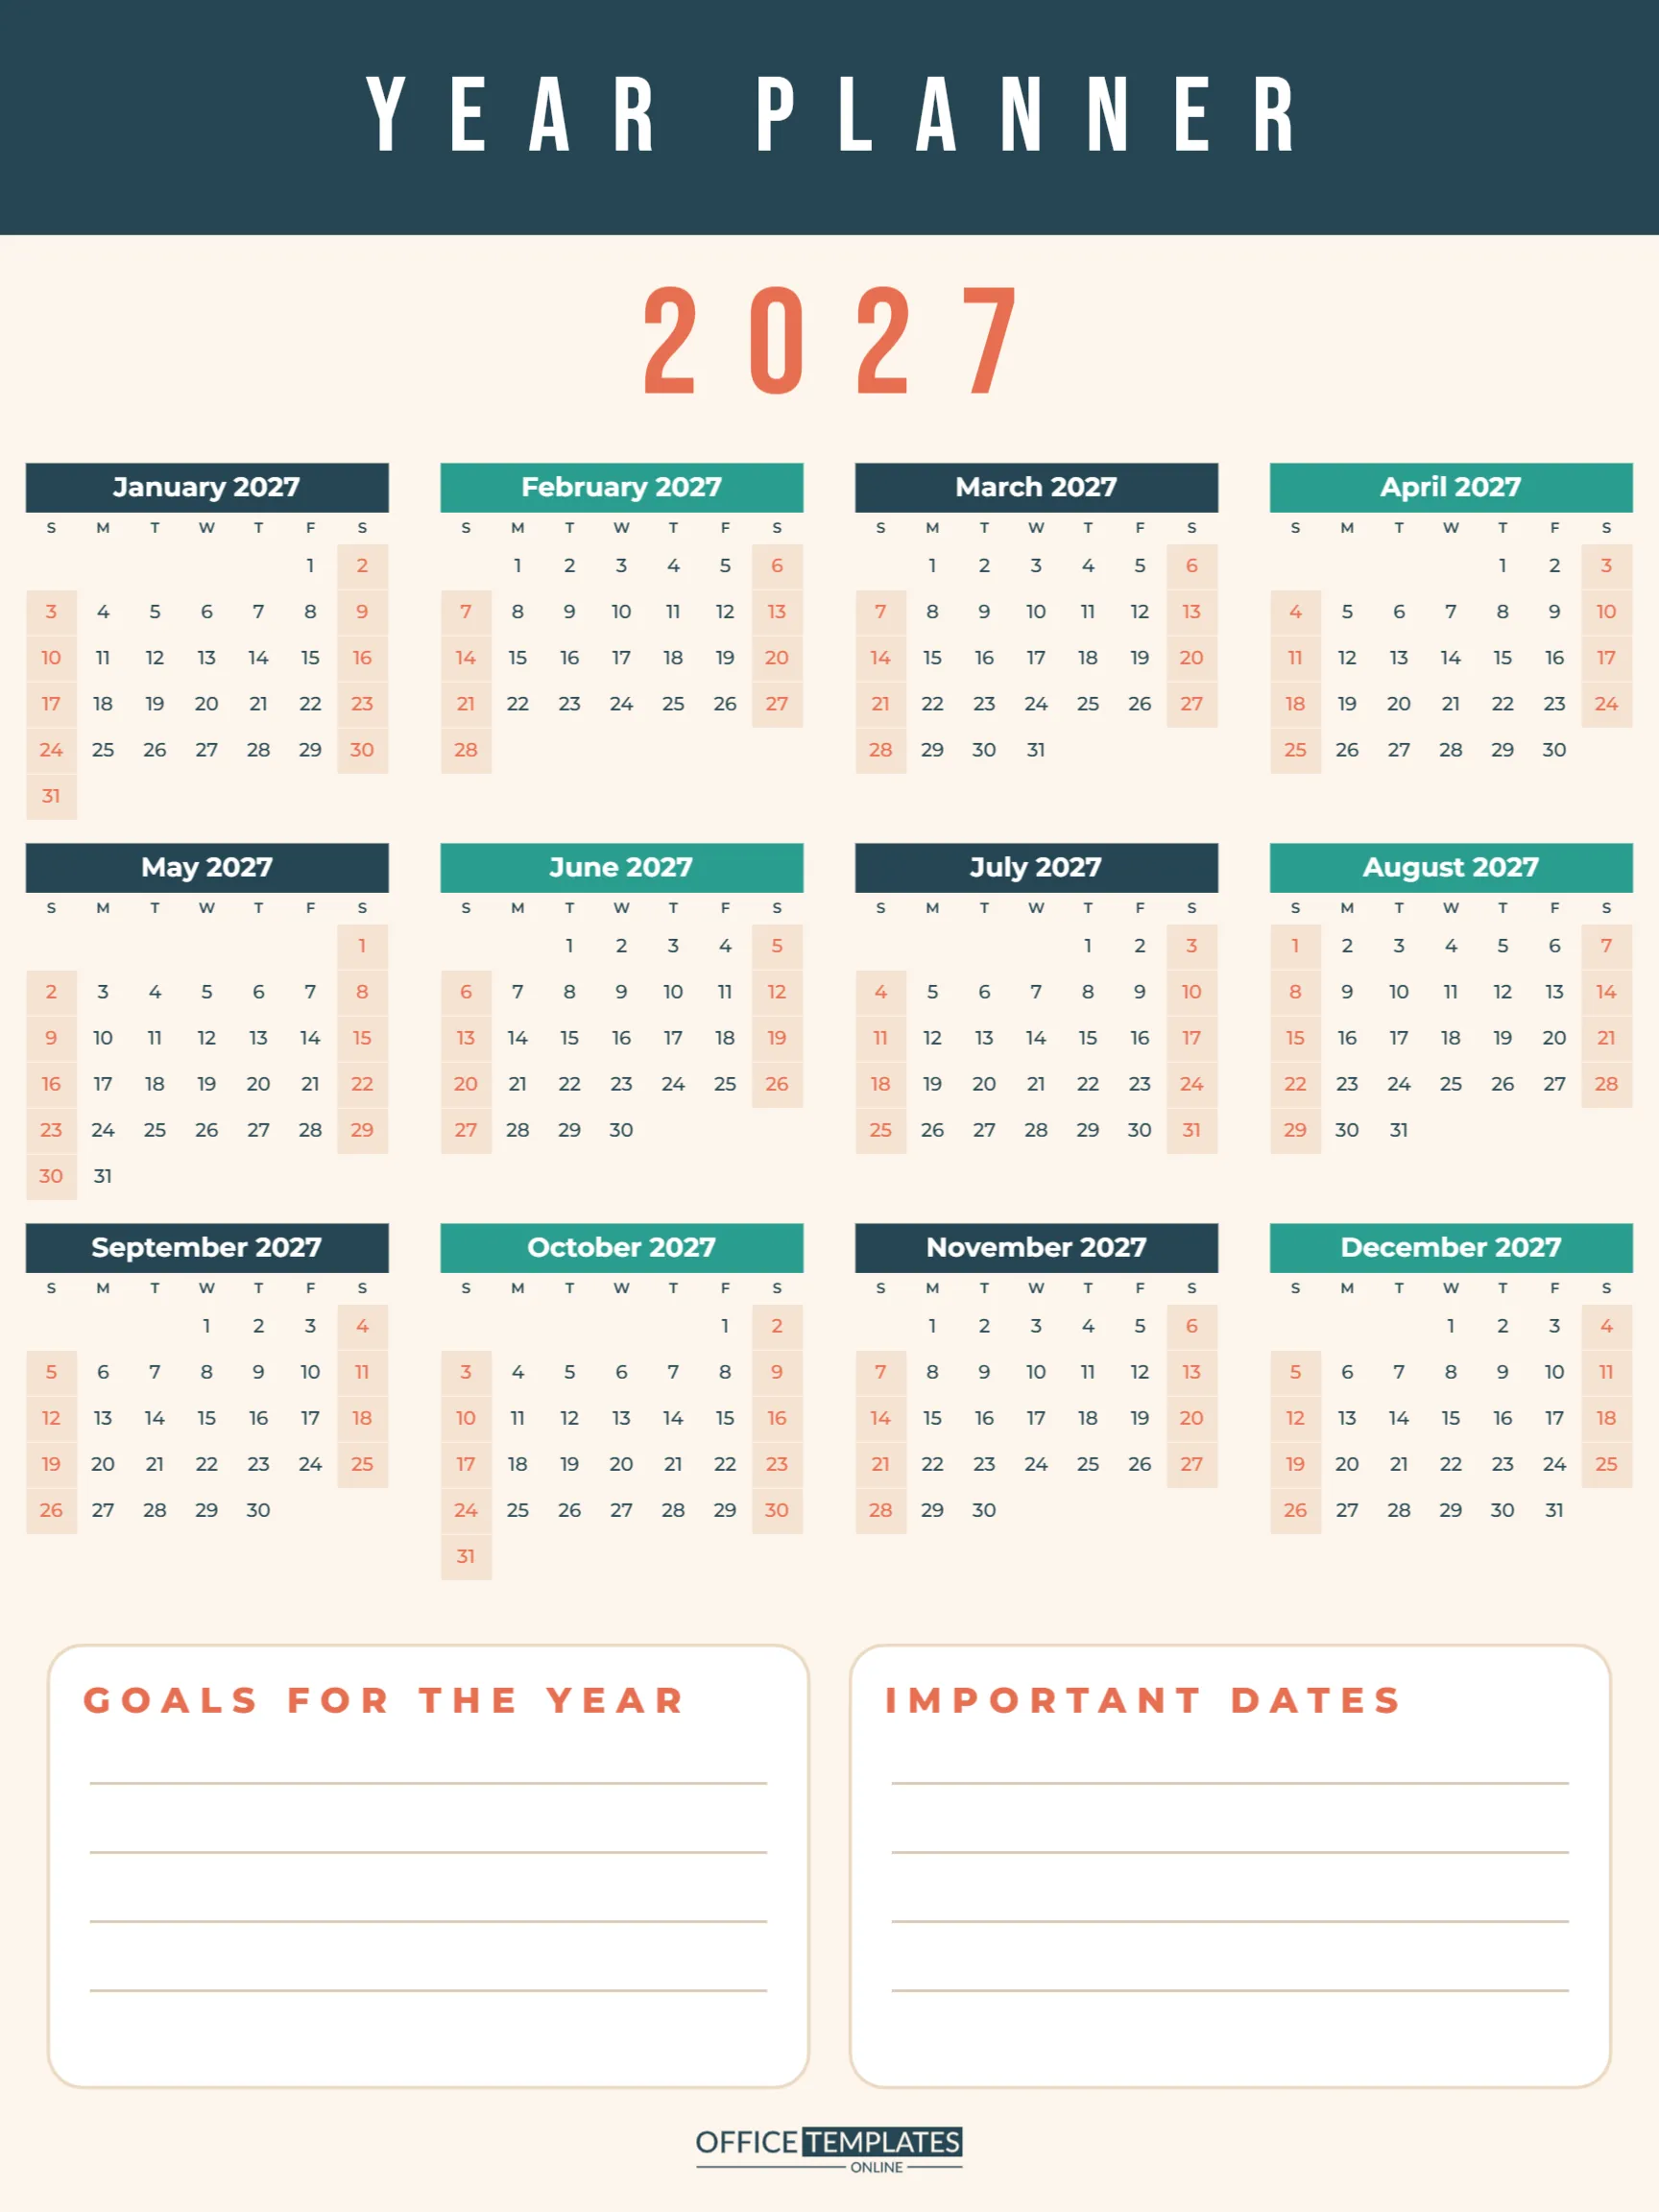
If you have not chosen a date yet, use the year calendar to compare options. Look at weekends, school holidays, public holidays, and other family events. A Friday or Sunday wedding is often cheaper than a Saturday, and some months, such as January or November, offer better venue prices.
Step 2: Understand the Wedding Calendar Design
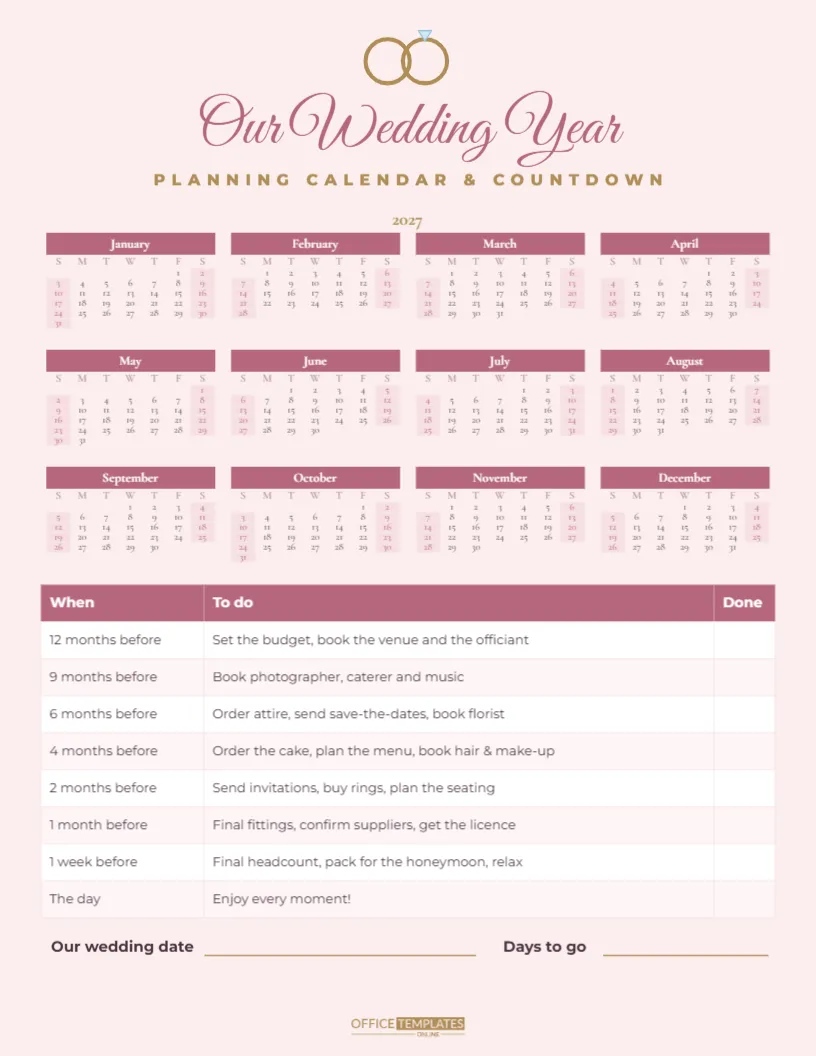
The calendar is US Letter, 8.5 x 11 inches, portrait, on a soft blush background. At the top, two interlocking gold rings with a small pale-blue diamond sit above Our Wedding Year, written in rose-pink Great Vibes, a flowing wedding script. Underneath, PLANNING CALENDAR & COUNTDOWN is set in gold spaced capitals.
The middle of the page holds the whole year as twelve mini months, four across and three down, in elegant Cormorant Garamond. Each month has a rose name bar with white lettering, and weekends are shaded in a deeper blush with rose numbers, which makes Saturdays easy to spot when choosing dates. Below the calendar, a countdown table in rose and white lists what to do and when, with a Done column for ticks. The OTO logo sits in gold at the very bottom.
Step 3: Work Through the Countdown Table
The countdown table divides wedding planning into eight stages. Here is the full list, which you can edit to match your plans:
| When | To do |
|---|---|
| 12 months before | Set the budget, book the venue and the officiant |
| 9 months before | Book photographer, caterer, and music |
| 6 months before | Order attire, send save-the-dates, book florist |
| 4 months before | Order the cake, plan the menu, book hair and make-up |
| 2 months before | Send invitations, buy rings, plan the seating |
| 1 month before | Final fittings, confirm suppliers, get the licence |
| 1 week before | Final headcount, pack for the honeymoon, relax |
| The day | Enjoy every moment! |
Once the date is set, count back to each stage and circle the start of each stage on the year calendar. For a wedding on September 18, 2027, the 12-month stage begins in September 2026, the 6-month stage in March, and invitations go out in July.
Step 4: Book the Big Suppliers Early
The venue, photographer, and caterer are the bookings that fill up fastest, especially for popular summer Saturdays. As soon as you have a date and budget, start visiting and comparing. Write meeting dates on the year calendar and tick the Done column when a contract is signed and a deposit is paid. Many couples also keep a separate note of payment due dates, which can be written in the margins of the relevant months.
Step 5: Plan the Paperwork and Legal Steps
Every country and region has its own rules for marriage licences, notice periods, and documents. Some require notice weeks or months in advance, so check early and add the deadline to the calendar. The countdown places get the licence one month before, but adjust this to your local rules. If either of you is changing your name, note the dates for passports and bank accounts after the wedding as well.
Step 6: Personalise the Wedding Planner Page
Change Our Wedding Year to your names, for example Maya & Daniel, or add the wedding date under the title. The colours suit a blush and gold theme, but you can recolour the page, month bars, and table to your wedding palette: sage and ivory, navy and gold, or terracotta and cream. The rings are a small grouped shape that can be recoloured or resized. Fonts are Great Vibes, Cormorant Garamond, and Poppins, all Google Fonts; swap them for the fonts on your invitations so everything matches.
The year calendar is the editor’s Calendar object in Full Year style. If your wedding is in 2028, open Calendar Options and change the year. You can also start the week on Monday and adjust the colours. The countdown is the editor’s Table object, so you can add rows (for example, 3 months before or Book the honeymoon) or a column for who to share jobs with.
Step 7: Share the Plan with Family and the Wedding Party
Weddings involve many helpers. Print copies for parents and the wedding party, with key dates such as dress fittings, the hen and stag parties, and the rehearsal circled. Everyone can see the timeline at a glance, which reduces questions and last-minute surprises. A shared copy on the fridge keeps both of you on track too.
Step 8: Keep the Wedding Calendar as a Keepsake
After the wedding, the completed calendar, with every tick, circle, and note, becomes a lovely record of the planning journey. Many couples tuck it into their wedding album or memory box. Print it on heavy cream or pearl card for a page that lasts.
Common Wedding Timeline Questions
What if we have less than a year to plan? Compress the stages. Book the venue and key suppliers first, then work through the rest in order. Many beautiful weddings are planned in six months or less.
When should save-the-dates go out? Six to eight months before is typical, or earlier for destination weddings or holiday weekends.
How far ahead should RSVPs be due? Three to four weeks before the day gives you time to finalise numbers with the caterer and plan the seating.
Printing Your Wedding Planning Calendar
Download the PDF and print on white or cream paper. For the blush colour to look soft rather than grey, use a good inkjet or a print shop. The page also works in a wedding binder: print several copies, one for the master plan and others for notes and supplier meetings.
Set the date, follow the countdown, and enjoy the journey. Your wedding year starts here.