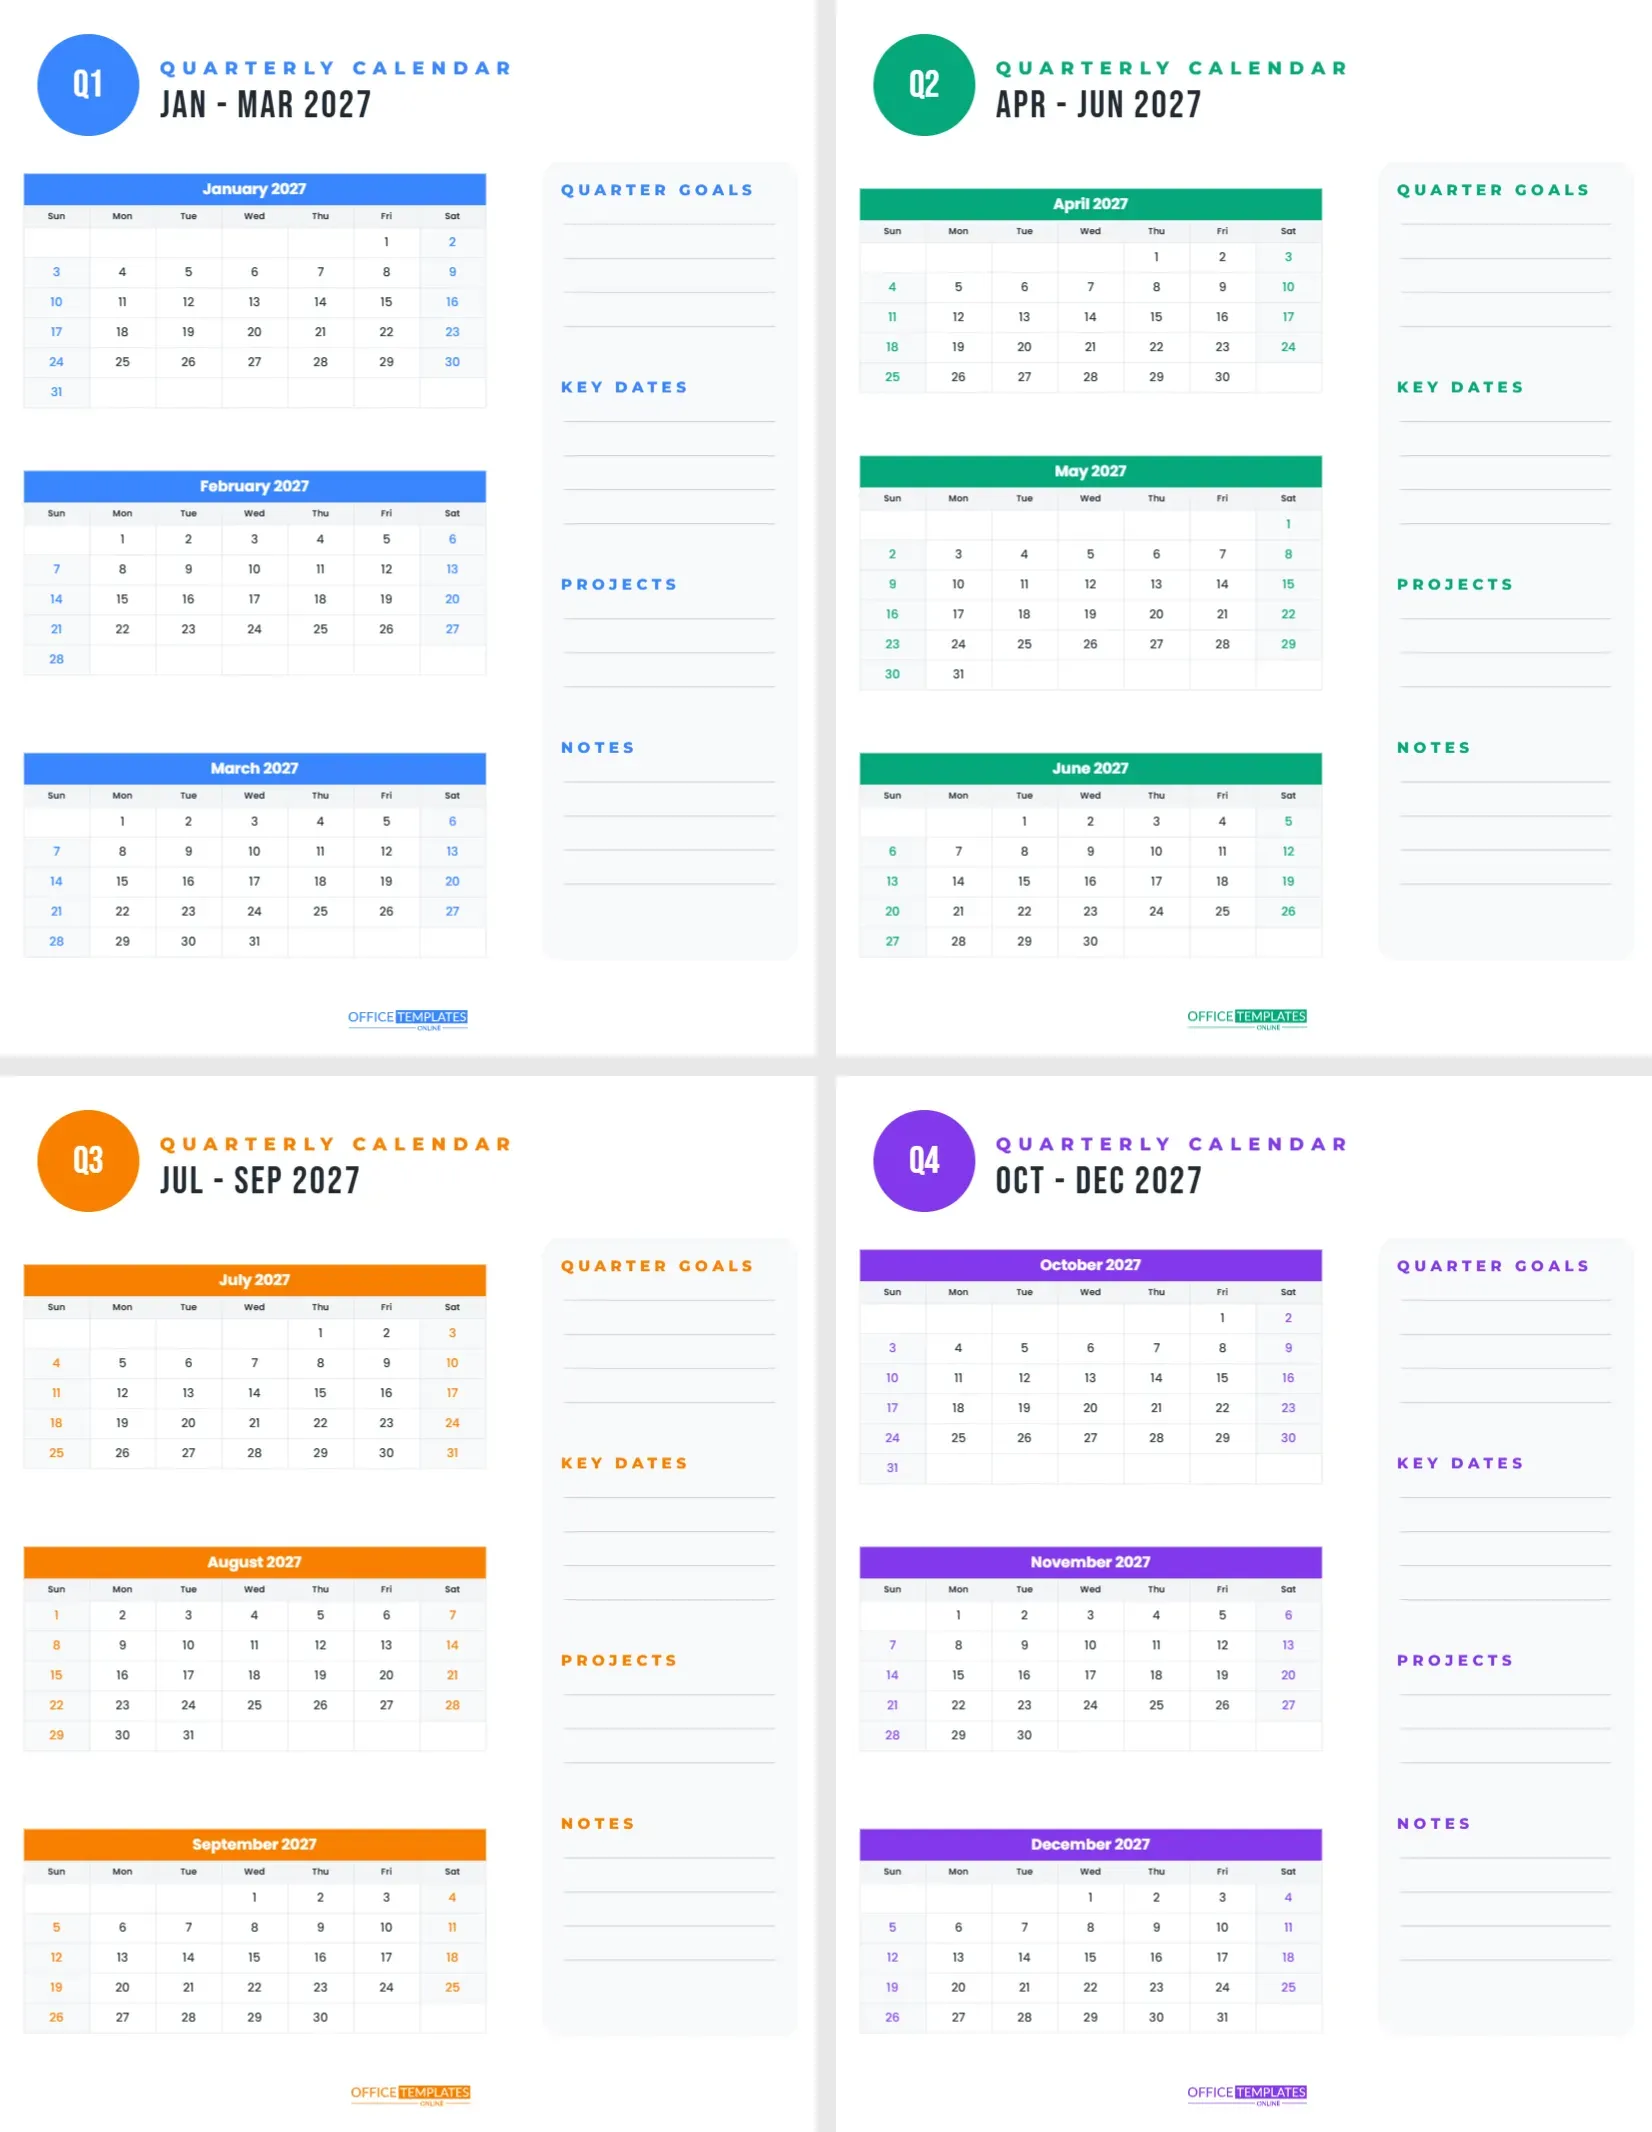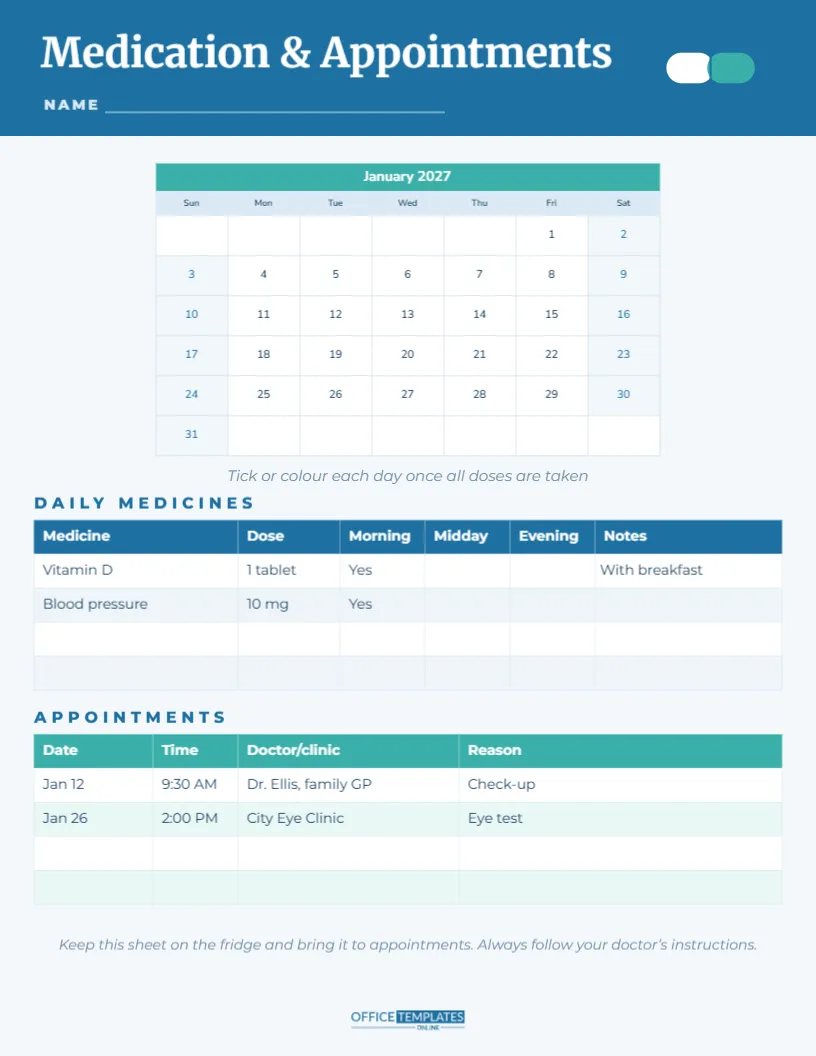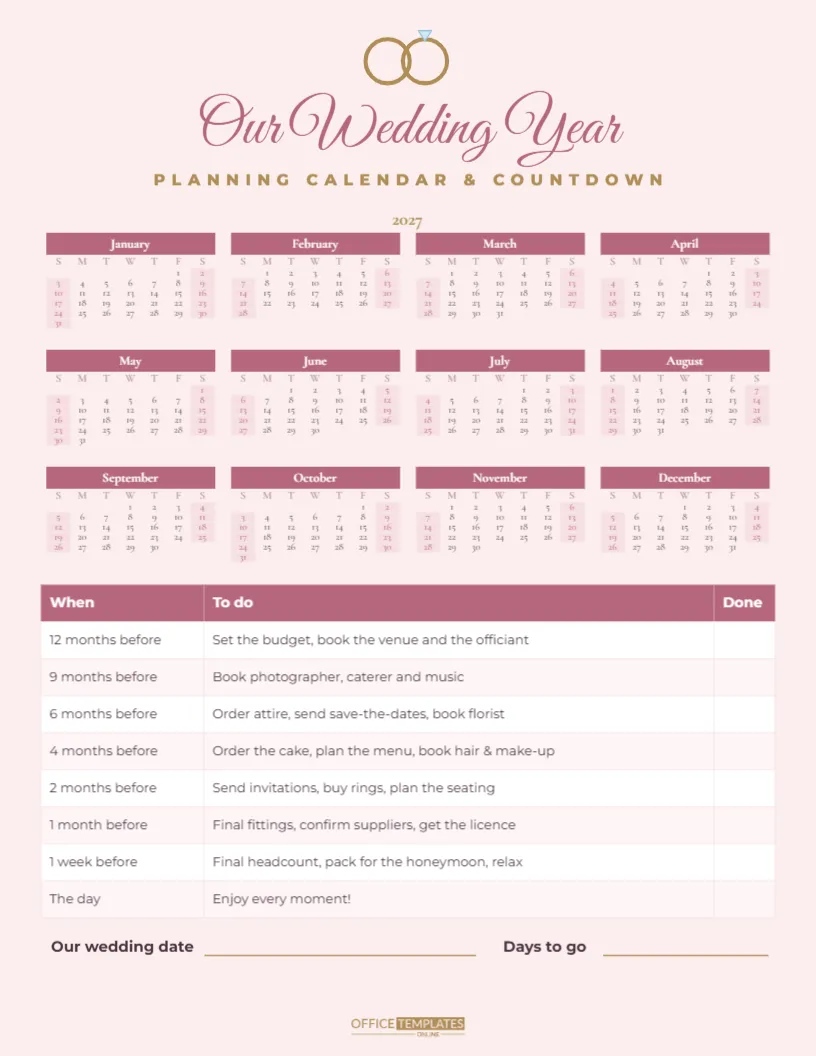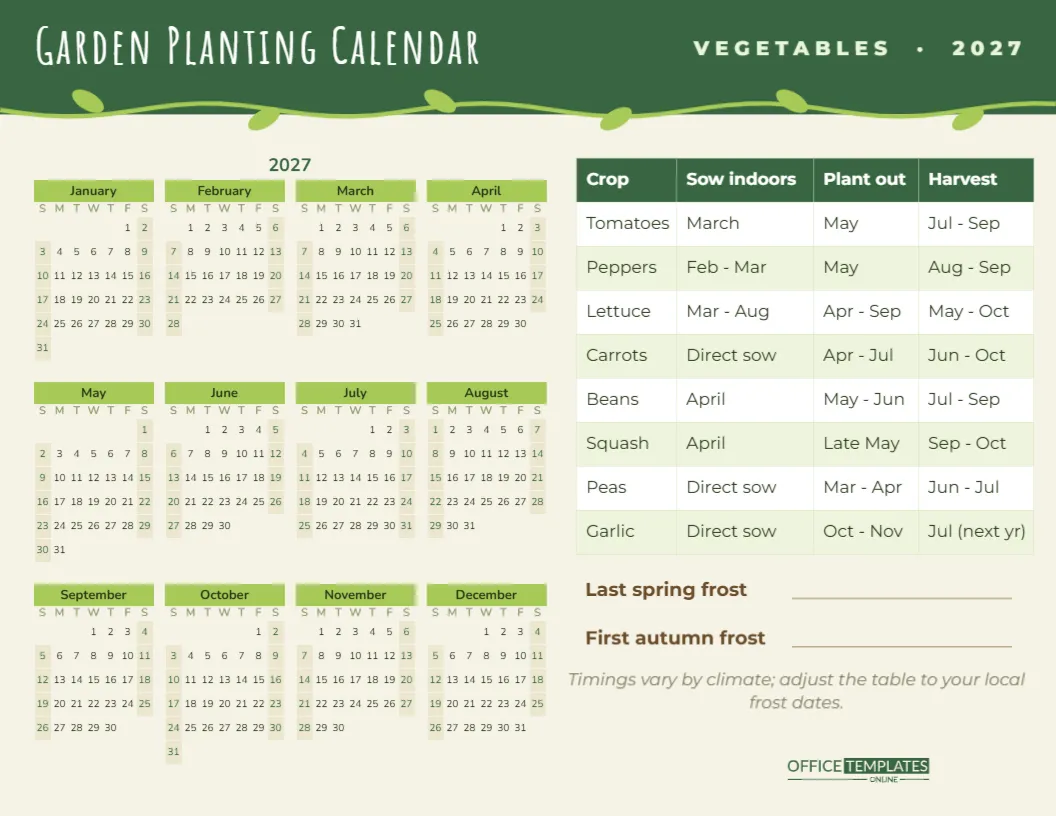
A photo calendar is one of the most loved gifts there is. Grandparents hang it in the kitchen, best friends put it on the fridge, and every month brings a new memory. This template makes it easy: twelve pages, each with a big photo frame at the top and a clean calendar underneath. Add your favourite pictures, print, and you have a personal calendar for 2027.

Step 1: Choose Twelve Pictures
| Theme | Photo ideas |
|---|---|
| Family year | One favourite photo from each month of the past year |
| Grandchildren | A different grandchild or family group on each page |
| Travel | Your best shot from twelve trips or twelve places |
| Pets | Your dog or cat through the seasons |
| Wedding | Twelve photos from the big day for your first-year calendar |
| Business | Products, team photos, or happy customers |
Step 2: Tidy the Photos Up
A little preparation makes a photo calendar look professional. Crop each picture to a wide landscape shape before uploading, so you decide exactly what stays in the frame. Straighten horizons, brighten dark indoor photos slightly, and avoid heavy filters, which often look odd once printed. Try to keep a consistent mood across the year: either all bright and colourful, or all soft and natural. If some photos are lower quality, use them for months where the subject fills the frame, such as a close-up of a pet, rather than wide landscapes where blur is more obvious. A quick test print of one page shows you how your photos will really look on paper.
Step 3: Drop Them into the Frames
Click the photo area on any page and choose Replace Image. Your picture fills the frame and keeps its full-width size. Repeat for each month. A few tips:
- Use landscape (wider than tall) photos; the frame is about 8.5 x 5 inches.
- Choose higher-resolution images, ideally the original files from your phone or camera, so they print sharply.
- Keep faces away from the very bottom of the photo, which sits next to the month band.
- Pick seasonal photos for each month: snow for January, beach days for July, pumpkins for October.
Step 4: Match the Month Bands
The changing month colours keep the calendar lively, but you might prefer colours that match each photo. Select the band and pick a colour from your picture, such as the blue of the sea or the red of a front door. Then open Calendar Options and set the weekday and weekend colours to the same shade. For a calmer look, make every band the same colour, such as charcoal or navy, so the photos do all the talking.
Step 5: Print and Bind
- Download the PDF.
- For the best photo quality, print at a print shop or photo lab on heavy silk or gloss paper, around 200 gsm.
- Ask for wire binding at the top with a hanging hook; most print shops offer this.
- For home printing, use a photo setting and good-quality paper, and let each page dry before stacking.
If you only want the photos to shine, print the grids on matte paper and the photos on gloss by printing two versions and cutting along the band.
What You Are Working With
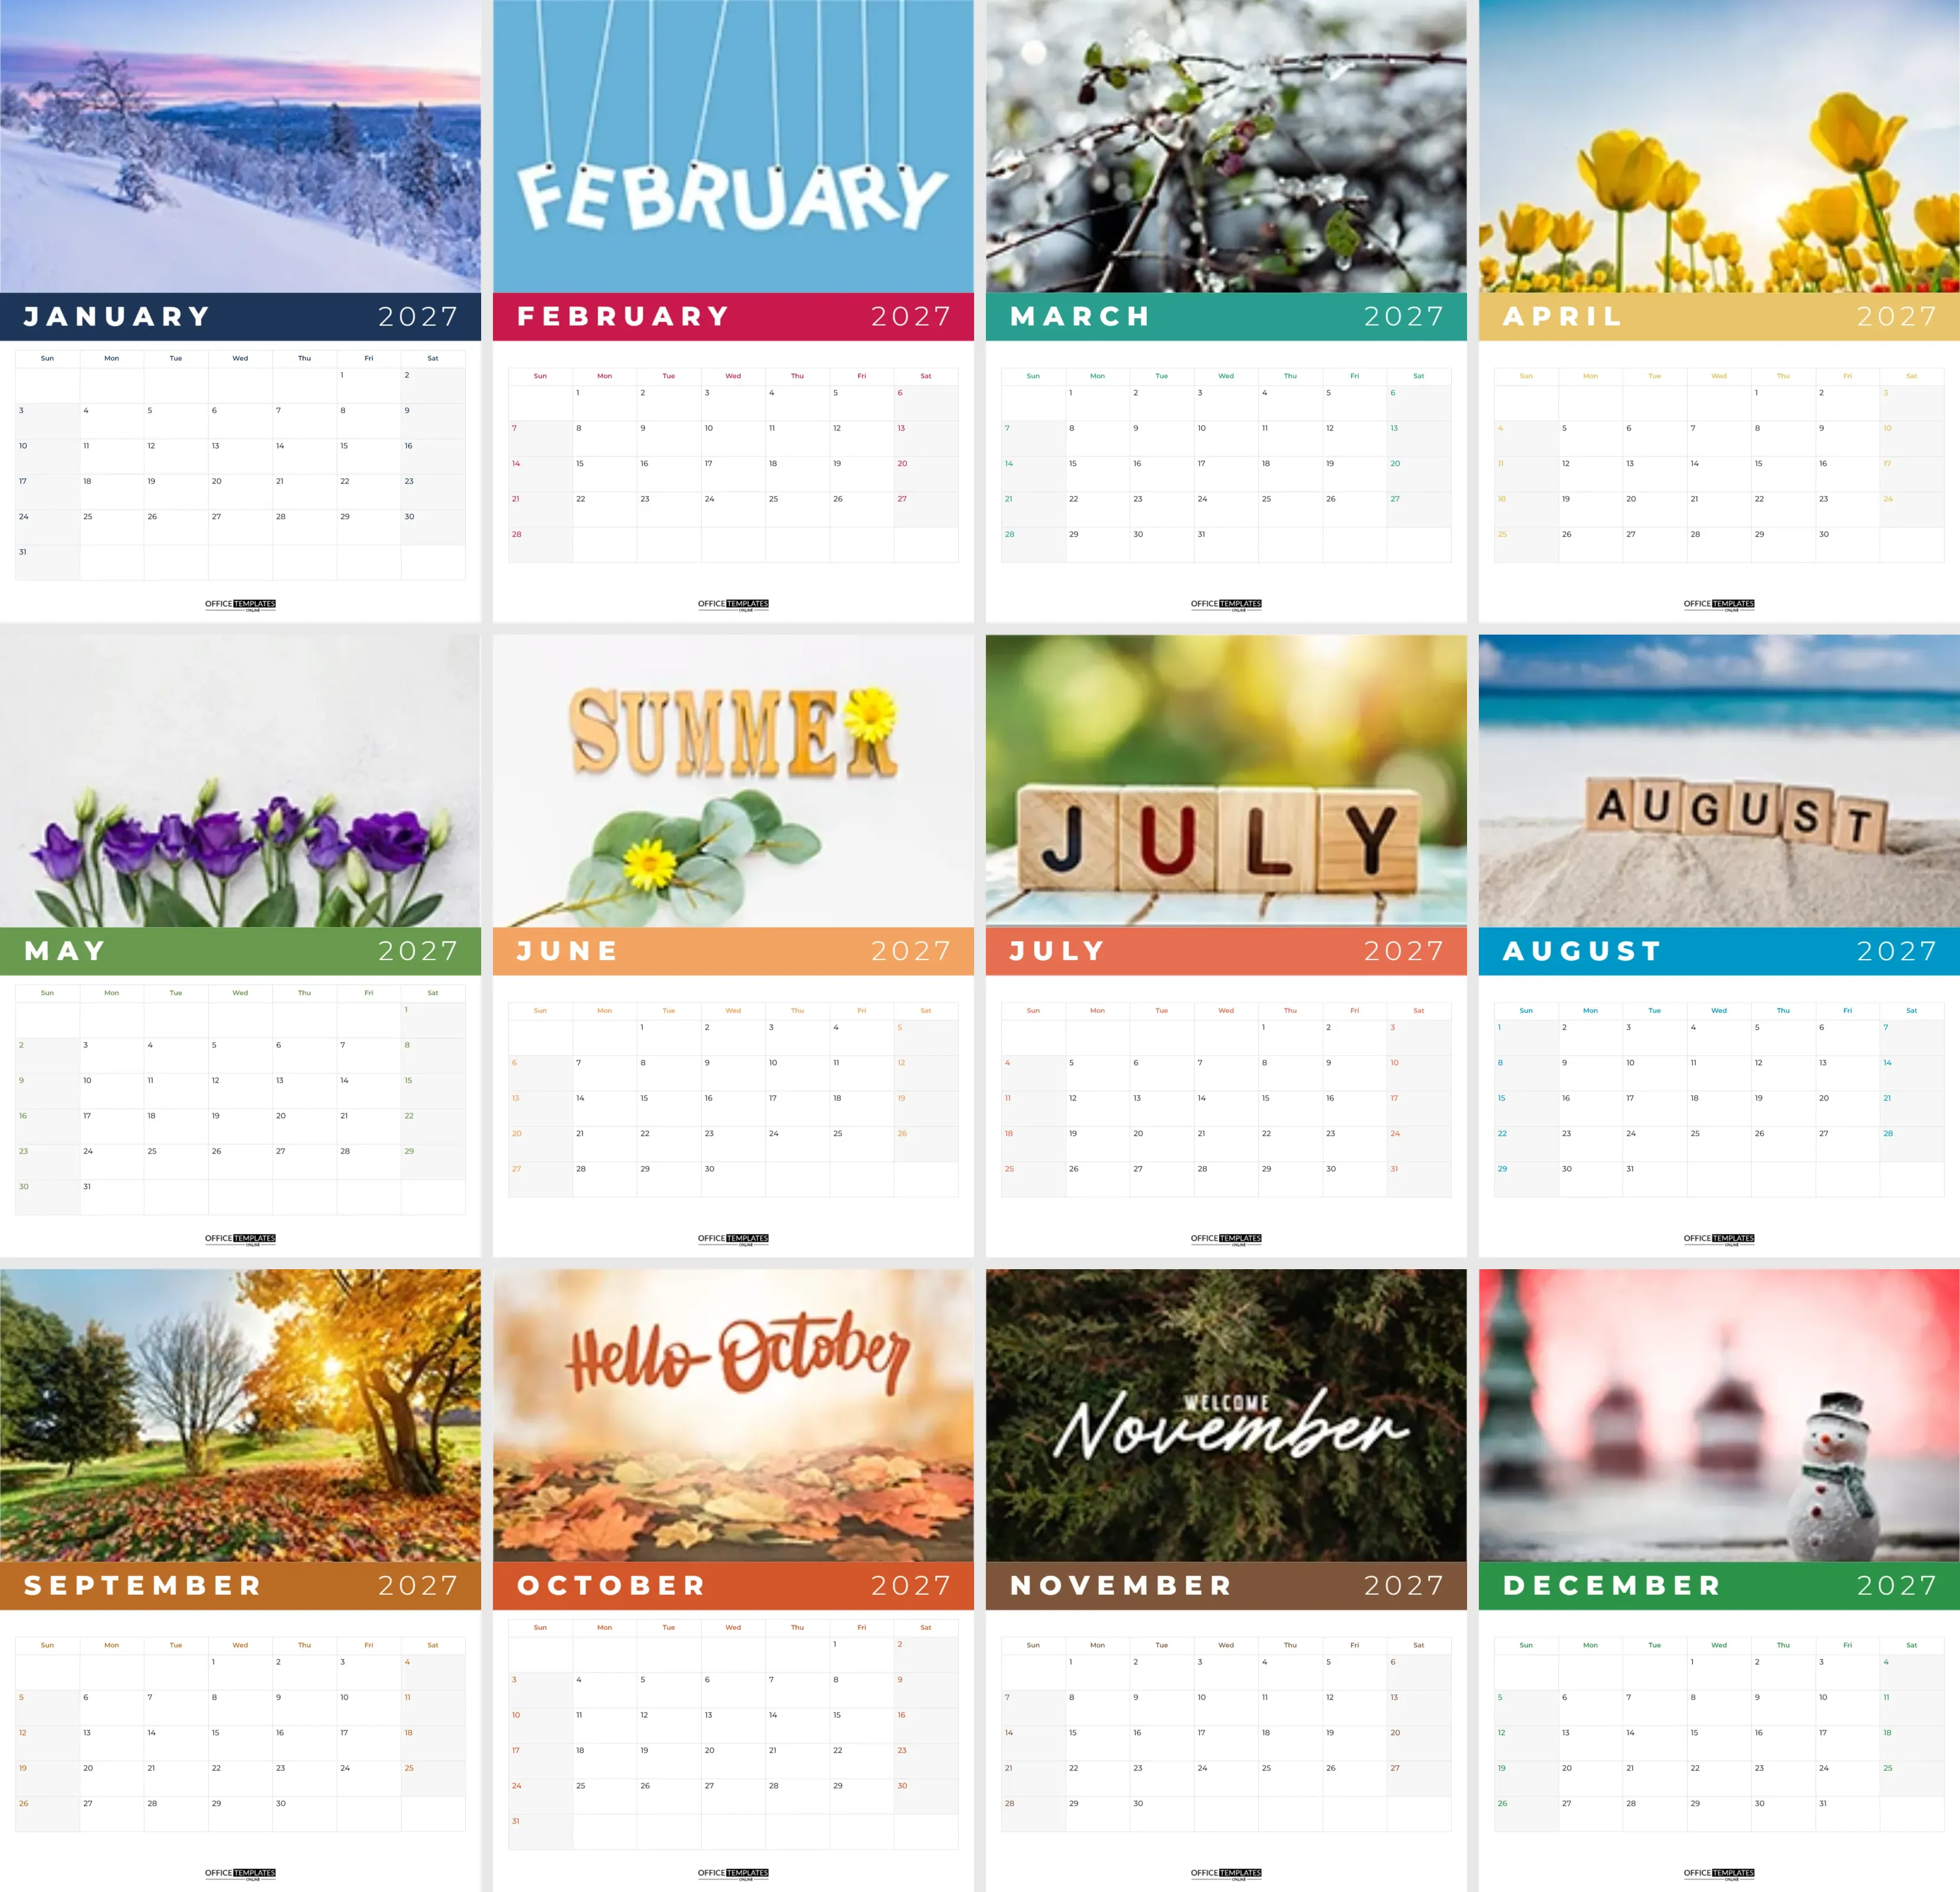
The calendar has twelve US Letter pages (8.5 x 11 inches, portrait). The top half of every page is a full-width photo slot, edge to edge, ready for a landscape picture. Under the photo, a solid colour band carries the month name in bold, spaced capitals on the left and 2027 on the right. The band colour changes every month: navy for January, raspberry for February, teal for March, warm gold for April, leaf green for May, apricot for June, coral for July, ocean blue for August, caramel for September, burnt orange for October, cocoa for November and pine green for December.
Below the band, the month grid has weekday names in the month’s colour, light borders, shaded weekends with coloured weekend numbers, and plenty of writing space. The OTO logo sits at the bottom of each page.
Dates That Always Add Up
The grids are the editor’s built-in Calendar objects. Each page is already set to its month of 2027, and the dates are calculated automatically. In Calendar Options, you can change the year, make the week start on Monday, or adjust colours and fonts. To make a 2028 version of the same calendar next year, change the year on each page and update the 2027 text in the band; your photos stay in place.
A Photo Calendar for Grandparents
Photo calendars make wonderful gifts for birthdays, Christmas, and New Year. Add a personal touch: write a short message on the January page (Happy 2027, Mum and Dad!), mark family birthdays on the grids before printing, and include a cover photo of the whole family on page one. Many families make one calendar each year for grandparents, so the collection becomes a record of the children growing up.
Turning One Calendar into Many
Once your twelve photos are in place, it is easy to make copies for the whole family. Print the same calendar several times, or duplicate the file and swap a few photos so each grandparent gets their own favourite pictures. Some families make a cousins edition where every month features a different branch of the family. You can also save the finished calendar and reuse the layout next year with new photos and the year changed in Calendar Options.
Before You Order Prints
Can I use portrait photos? Yes, but they will be cropped to the wide frame. Choose photos where the subject is in the centre.
Can I add a second photo to a page? Yes. Add another image or shape in the editor, for example, a small round photo in a corner of the grid area.
What if I want the week to start on Monday? Change the week start in Calendar Options on each page.
Is it suitable for a business calendar? Yes. Use product or team photos and add your company name and contact details under the grid.
Gather twelve favourite photos, drop them into the frames, and print. Every month of 2027 will start with a smile.