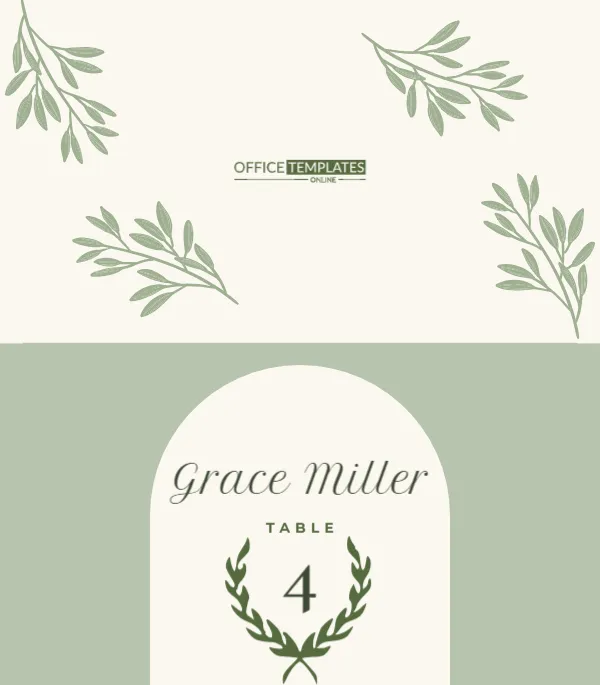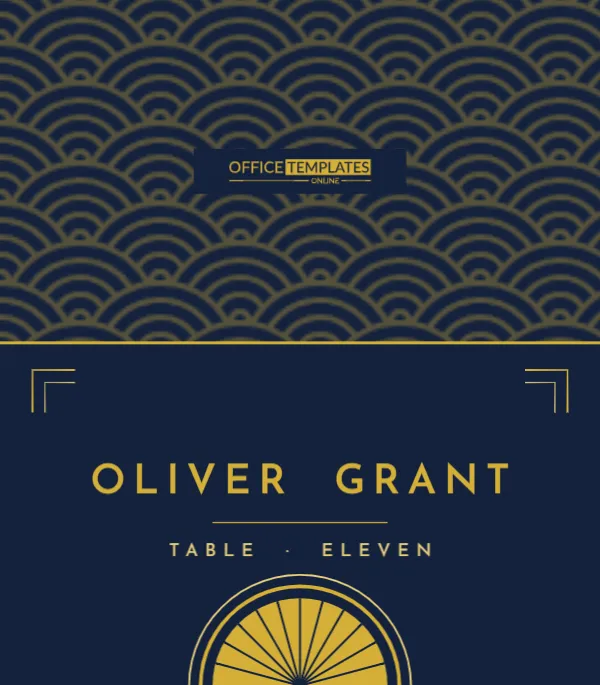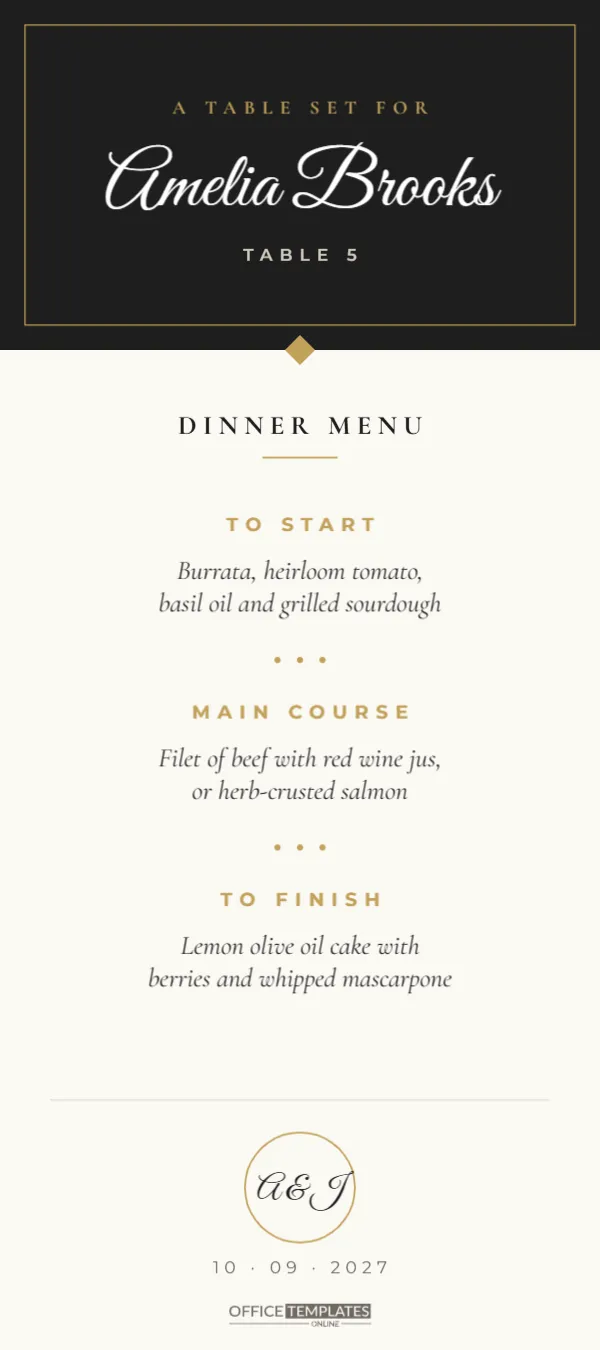
At an elegant dinner, the most efficient place card is not a card at all but a menu. Lay a tall menu on each plate with the guest’s name at the top, and it marks the seat, tells the guest what they will eat, and becomes a keepsake they take home. This design is made for exactly that. It is a 4 x 9 inch menu card with a charcoal header that reads A table set for above the guest’s name, followed by a three-course menu in refined serif italics and a gold monogram at the foot.
Layout From Top to Bottom
The card is printed flat and is not folded. The top section is a deep charcoal block framed by a fine gold rule. Inside it, small gold spaced capitals say A table set for, the name Amelia Brooks is set in large white Great Vibes script, and Table 5 follows in pale spaced capitals. A small gold diamond sits at the bottom edge of the block, like a clasp. Below, on warm ivory, Dinner Menu is spaced widely in Cormorant Garamond with a short gold rule underneath. Three courses follow, each with a gold heading (To Start, Main Course, To Finish) and a two-line description in italic serif. Three small gold dots separate the courses. At the bottom, a thin rule leads to a gold-ringed circle holding the couple’s initials A & J in script, the date 10 · 09 · 2027 in spaced figures, and the logo.
Why Combine the Menu and the Place Card
A menu with a name does three jobs on one piece of paper: it reserves the seat, informs the guest, and decorates the setting. It saves the cost of separate place cards and individual menus, and it takes up the same space on the plate as a folded napkin. Long, narrow menus also look striking on round tables, where every plate shows a tall strip of charcoal and ivory. They are a favourite of wedding planners for black-tie and formal evening receptions.
Writing a Menu That Reads Well
Menu descriptions should be short, appetising and specific. Lead with the main ingredient, mention one or two notable accompaniments and leave out cooking jargon. The sample does this: Burrata, heirloom tomato, basil oil and grilled sourdough for the starter; Filet of beef with red wine jus, or herb-crusted salmon for the main; Lemon olive oil cake with berries and whipped mascarpone for dessert. Ask your caterer for their exact menu wording and edit it into these lines, keeping each description to two lines for a balanced card.
Course Heading Alternatives
| Style | First course | Second course | Third course |
|---|---|---|---|
| English (as designed) | To Start | Main Course | To Finish |
| Formal | First Course | Entrée | Dessert |
| French | Entrée | Plat Principal | Dessert |
| Italian | Antipasto | Secondo | Dolce |
| Family style | To Share | From the Grill | Something Sweet |
Note that in American usage entrée means the main course, while in French and British usage it means the starter. Choose the convention your guests will understand.
Showing Each Guest’s Chosen Main
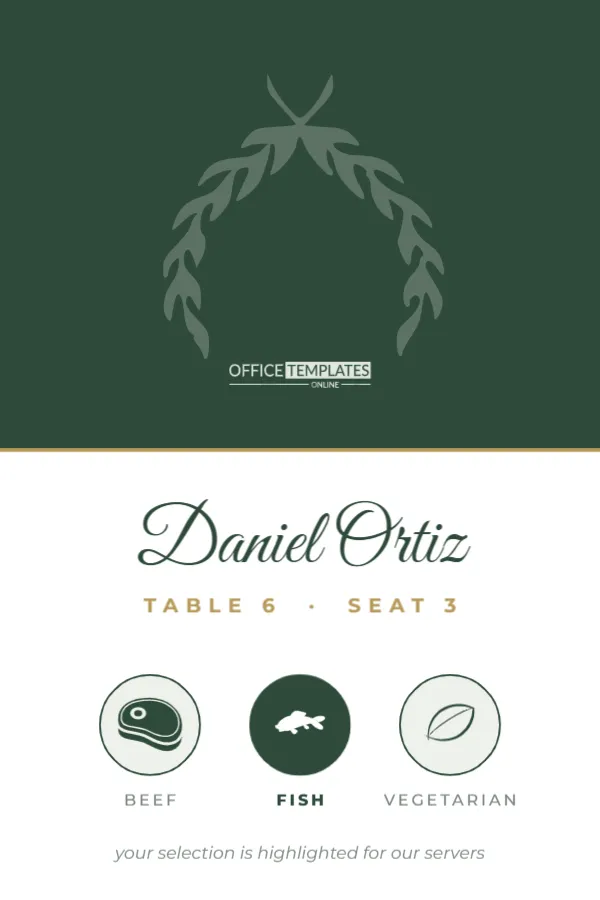
If guests chose their main course on the RSVP, you can personalise each menu: delete the option they did not choose, or add a small gold dot beside their selection. Servers can then glance at the menu on the plate to confirm the right dish. This combines the meal-choice function of a place card with the elegance of a printed menu.
Personalising a Full Set
Write the menu once, carefully proofread it with your caterer, and update the monogram and date. Then, for each guest, change only the name and table number and download the card. Because every menu shares the same text, a single typo would repeat across the whole set; proofreading before you start personalising saves reprinting dozens of cards.
Monogram and Date
Replace A & J with your initials. Traditionally, a couple’s monogram places the first initials of both partners with an ampersand, or a shared surname initial in the centre. The circle is a gold outline, so a longer monogram may need a slightly smaller font. Write the date in the same dotted style, or spell it out as the ninth of October for extra formality.
Paper and Size
A 4 x 9 inch card fits neatly on a standard dinner plate or folded napkin, and it fits inside a #10 business envelope if you ever mail one to a guest who could not attend. Print on heavy, smooth card of 100 to 130 lb cover so it lies flat. Most home printers can print 4 x 9 inch custom sizes from the rear feed; otherwise, print on letter-size card and trim two menus from each sheet with a little waste.
Printing the Charcoal Header
The charcoal block is a large dark area. Print with a matte setting and best quality, and allow it to dry before stacking. Laser printers give the most even tone. If you want a real luxury finish, ask a print shop to add gold foil to the frame, the diamond, and the monogram ring.
Placing the Menus
Lay each menu vertically in the centre of the dinner plate or on top of a folded napkin, with the name at the top facing the seat. For a layered look, tuck the menu under a napkin ring or tie it with a thin ribbon around the napkin. Put the cards out after the tables are fully laid, so they are the last element and stay clean.
Other Formal Dinners
This menu suits gala dinners, rehearsal dinners, anniversary celebrations, milestone birthday dinners, and corporate black-tie events. For a corporate dinner, replace the monogram with the company initials and the date with the event name.
Menu Card Questions
Can I add a fourth course?
Yes. Reduce the spacing between courses slightly and copy one course block.
Can I change the charcoal to navy?
Select the header block and choose a new colour; navy and emerald both suit the gold.
Is the card folded?
No. It is a flat 4 x 9 inch card.