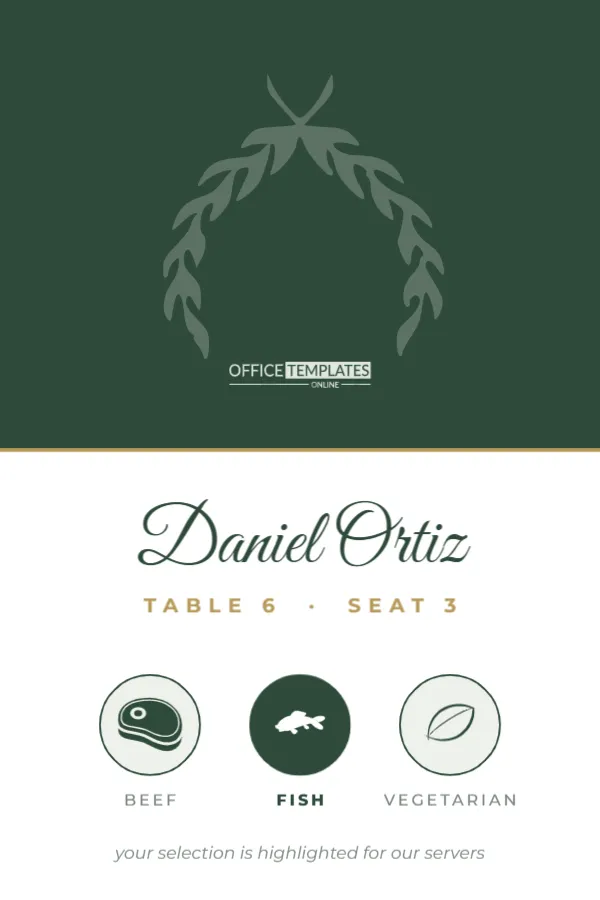
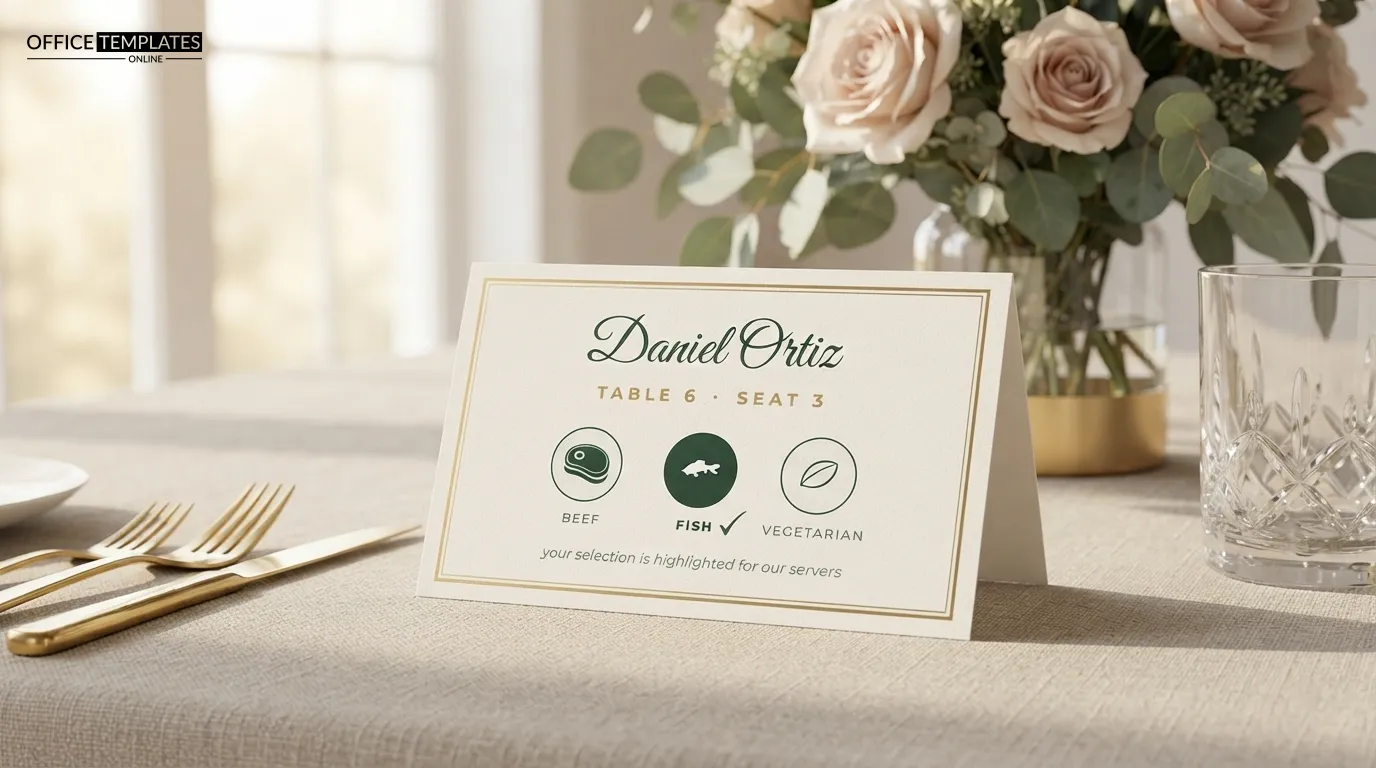
Anyone who has worked a plated wedding dinner knows the moment of confusion: servers arrive with three different entrées and no idea who ordered which. The usual fixes are coloured stickers, tiny symbols scribbled on the back of cards, or servers asking every guest. This place card solves it elegantly. Below the guest’s name and seat, three round icons show beef, fish, and vegetarian, and the one the guest chose is filled in solid green. Servers see the selection at a glance; guests see a beautiful card with their name on it.
Designed for Servers and Guests Alike
This is the larger tent format: 4 x 6 inches flat, folding to a 4 x 3 inch card that gives the icons room to be read from a server’s height. The top half, which becomes the back, is a deep forest green with a white laurel wreath outline and the logo. A gold line marks the fold. The white front carries the name, Daniel Ortiz, in Great Vibes script in forest green, then Table 6 · Seat 3 in gold capitals. A row of three circles follows: a steak icon labelled Beef, a fish labelled Fish, and a leaf labelled Vegetarian. In the sample, the fish circle is filled solid green with a white icon and a bold label, while the other two are pale with green outlines. A small italic line at the bottom explains: Your selection is highlighted for our servers.
How to Mark Each Guest’s Choice
- Click the name and type the guest’s name; update the table and seat line.
- Find the circle for the guest’s entrée. Select it and change its fill to forest green.
- Select the icon inside that circle and change its colour to white.
- Make that circle’s label bold and dark green.
- Set the other two circles back to pale fill with green icons and grey labels.
- Download the card, then repeat for the next guest.
A faster method: make three master versions, one with each meal highlighted, and change only the name and seat for each guest using the right master. Sorting your guest list by entrée first makes this very quick.
Collecting Meal Choices on the RSVP
Ask for entrée choices on your RSVP card or wedding website, with one line per guest, including plus-ones and children. Offer a clear vegetarian option and a way to note allergies. Send the totals to your caterer by their deadline, usually two to three weeks before the wedding, and keep the per-guest list for your place cards.
Icons and What They Can Stand For
| Icon on the card | Default label | Other meals it can represent |
|---|---|---|
| Steak | Beef | Short rib, lamb, pork tenderloin |
| Fish | Fish | Salmon, sea bass, shrimp, scallops |
| Leaf | Vegetarian | Vegan, plant-based, risotto, stuffed squash |
If your menu has chicken, change one label to Chicken and replace the icon with one from the editor’s library; or relabel the fish circle Poultry if you are not serving fish. The icons are editable vectors, so their colour follows whatever you set.
Allergy and Dietary Notes
For guests with allergies, the italic line at the bottom is a good place for a discreet note: No nuts, please or Gluten-free. Agree on a system with your caterer in advance so servers know to look there. Never include medical details beyond what the kitchen needs, and keep the wording calm rather than alarming.
Changing the Green and Gold
The forest green background, the filled circle, and the name share one colour. Select each and choose a new shade to match your wedding: navy for a nautical theme, burgundy for an autumn wedding, charcoal for a modern black-tie event. The gold line and table text can become silver or rose gold. The laurel outline on the back is an editable vector and can be recoloured or deleted.
Why the Larger 4 x 6 Format
A standard 3.5 x 2 inch tent is too small for a name plus three legible icons. Folded to 4 x 3 inches, this card stands taller, so a server walking past with plates can read the highlighted icon from about a metre away. The larger size also makes the card a nice keepsake. Most dinner tables have plenty of room for it above the plate.
Printing and Paper Weight
Download the PDF and print at actual size. Many home printers can print 4 x 6 inch cards directly in the photo tray; choose matte card rather than glossy photo paper so the card folds cleanly. Otherwise, print on letter-size cardstock and trim. A weight of 100 to 110 lb cover keeps this taller card standing straight.
Fold and Placement
Score the fold along the gold line and fold with the white front outward. Place the card above the plate with the icons facing the guest’s seat, which is also the side servers approach from at most venues. Brief your servers or catering captain on the system before dinner starts.
When This Card Helps Most
Use it for plated wedding dinners, gala banquets, award dinners, charity fundraisers, and large family celebrations in restaurants. It is less useful at buffets or family-style dinners, where guests serve themselves; for those events, delete the icon row and use the card simply for names.
A Server Briefing Script
Caterers appreciate a one-minute explanation before service. Something like this works: Every place card shows three meal icons. The filled-in circle is the guest’s entrée. If a card has a note at the bottom, check it with the kitchen before serving that seat. Give the catering captain a printed sheet listing each table with its count of beef, fish, and vegetarian meals as a cross-check. If the counts on the sheet match the cards on the table, the plates go out right the first time.
Meal Choice Card Questions
Can I show four options?
Yes. Make the circles slightly smaller, add a fourth by copying one, and space them evenly.
What about children’s meals?
Relabel one circle Kids on children’s cards or add a fourth circle.
Is the folded size 4 x 3 inches?
Yes, from a flat 4 x 6-inch card.