At conferences, workshops, panels, and board meetings, name tents do a job place cards cannot: they let everyone around a table, and everyone in the audience, read who is speaking. Done well, they help people remember names, start conversations, and follow a panel discussion. This name tent is designed to be printed on a standard letter sheet and folded lengthwise into a tent that shows the same information on both sides, so the person behind the tent and the people in front of it both see the name the right way up.
How the Two-Sided Layout Works
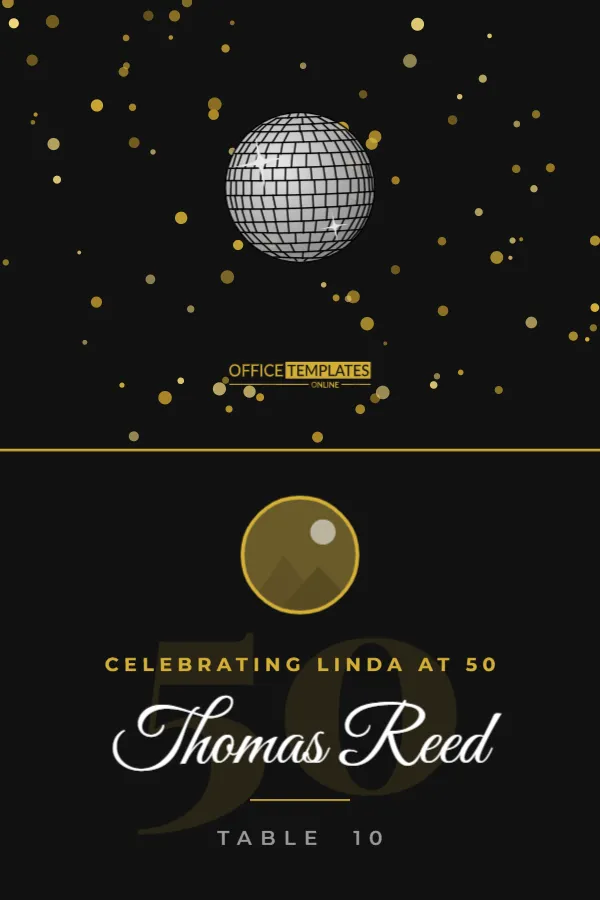
The sheet is 11 x 8.5 inches in landscape. A dashed line across the middle marks the fold. The lower half is one face of the tent; the upper half is the other face, printed upside down. When you fold the sheet along the line and stand it up, both faces read correctly: one towards the audience or the table, one towards the person sitting behind it. Each face measures 11 x 4.25 inches, large enough to be read from the back of a meeting room.
What Each Face Shows
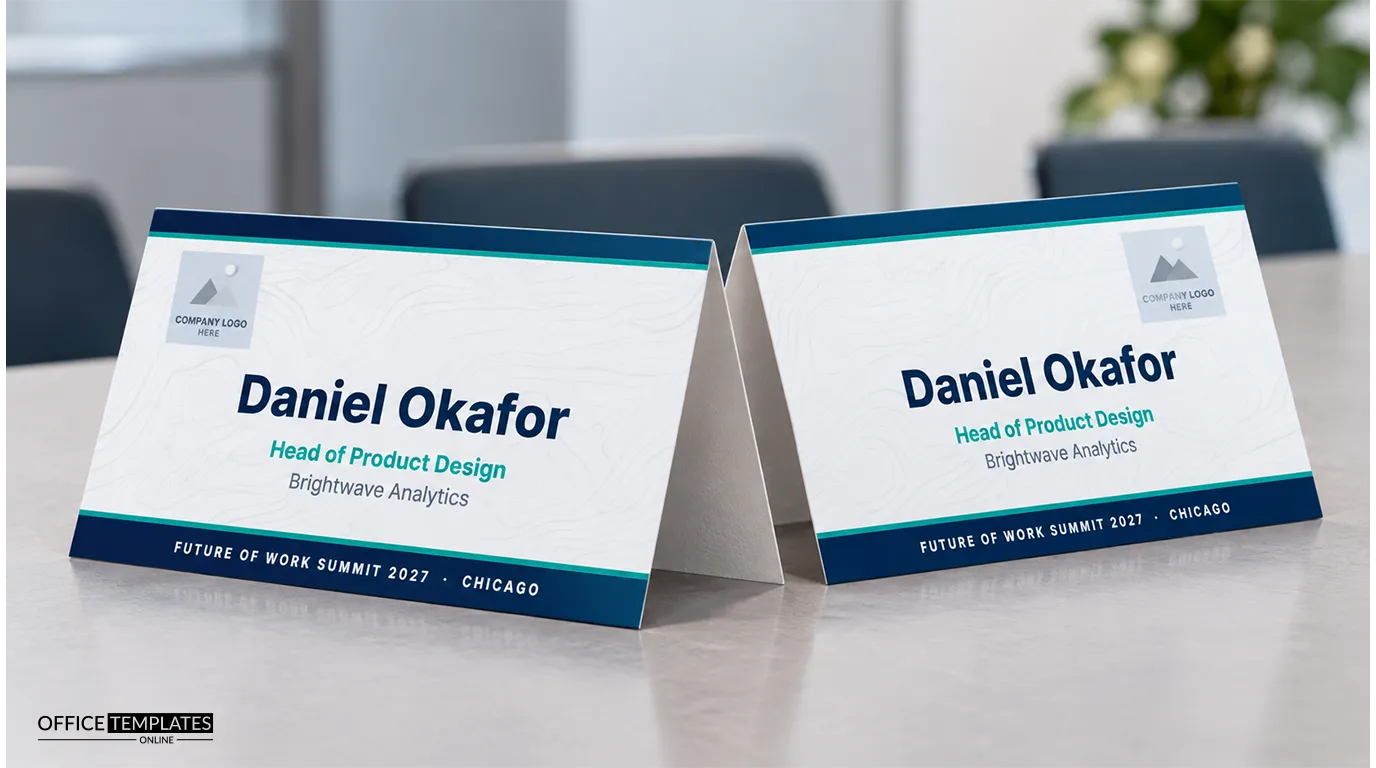
Both faces carry identical content. On the left is a square logo slot. Beside it, the name Daniel Okafor is set large in extra-bold Inter in navy, with the job title Head of Product Design in teal and the company Brightwave Analytics in grey underneath. Along the outer edge of each face, at the table, runs a navy strip with the event name Future of Work Summit 2027 · Chicago in white capitals, with a thin teal line above it. The whole sheet sits on a very light grey topography texture, like contour lines on a map, and a small logo appears in the corner of each face.
Adding the Company Logo
The square on each face is a photo slot. Click it and choose Replace Image to upload the attendee’s company logo, the conference logo, or a headshot. Because the content is repeated, replace the image on both halves. A square logo on a white or transparent background looks best. If you prefer not to use a logo, delete both slots and move the text to the left.
Editing Both Halves
- On the lower half, type the person’s name, title, and company.
- Repeat the same edits on the upper, upside-down half; the text boxes are rotated, so click them and type normally.
- Update the event strip on both halves.
- Replace the logo in both squares.
- Download the sheet and move to the next attendee.
Double-check spelling on both halves; it is easy to update one and forget the other.
Name Tent Best Practices
| Element | Recommendation | Why |
|---|---|---|
| Name size | At least 60 points | Readable from 20 feet |
| First name | Use the name people use | Dan, not Daniel, if he prefers |
| Title | Short, plain language | Audiences skim titles |
| Company | Common name, not legal name | Brightwave, not Brightwave Analytics LLC |
| Contrast | Dark text on light background | Readable under stage lights |
The Topography Texture
The faint contour pattern behind the text is the editor’s built-in Topography background texture, set in a very pale grey. It adds subtle depth without hurting readability. To change it, open Backgrounds and choose Pattern: make it a pale tint of your brand colour, adjust its size or opacity, or remove it for a plain white background.
Branding for Your Event
Change the navy strip and teal line to your event or company colours, and update the event name. The name colour can match your brand’s darkest colour. For a multi-day conference with tracks, colour-code the strip by track (blue for product, green for sustainability, orange for marketing) so attendees can see at a glance which session someone is speaking in.
Cardstock for Lengthwise Folding
Print on letter-size cardstock of 65 to 80 lb cover; heavier card is hard to fold lengthwise neatly. Print at actual size. If your printer leaves a margin, the navy strip may not reach the edges; that is fine for a tent. Score along the dashed line with a ruler and a bone folder before folding.
Folding Into a Tent
Fold along the dashed line so both printed halves face outward. The sheet now forms an inverted V that stands on its two long edges, each face 4.25 inches high. For a more stable tent, fold the outer inch of each edge inward to create a flat base, or use a plastic name tent holder.
Where to Use It
Use this name tent for conference panels, board meetings, workshop tables, training sessions, roundtables, client meetings, interview panels, and classroom seminars. For panels, set the tent at the front of the table facing the audience; for roundtables, both sides help participants and observers.
Producing Tents for a Whole Conference
For a conference with dozens of speakers and panellists, prepare tents in batches. Export your speaker list from the registration system with first name, last name, title, and company. Work through it panel by panel, producing a sheet for each speaker and saving the files in folders by session. Print each session’s tents the day before, clip them together with a label for the session and room, and hand them to the room monitors. Keep a few spare blank tents and a thick marker at each room for surprise panellists or moderators.
Accessibility on Stage
Large, high-contrast names help everyone, including audience members with low vision and people watching a livestream. Avoid thin fonts and light grey text for names, place the tent where the camera can see it, and make sure the name is not hidden behind microphones or water bottles.
Conference Tent Questions
Why is half the sheet upside down?
So both faces read correctly after folding into a tent.
Can I add pronouns?
Yes. Add a line under the name, such as she/her, on both halves.
What is the folded size?
Each face is 11 x 4.25 inches.
Can I use the slot for a headshot instead?
Yes. Replace the image with a square headshot on both halves; it helps audiences connect names and faces.