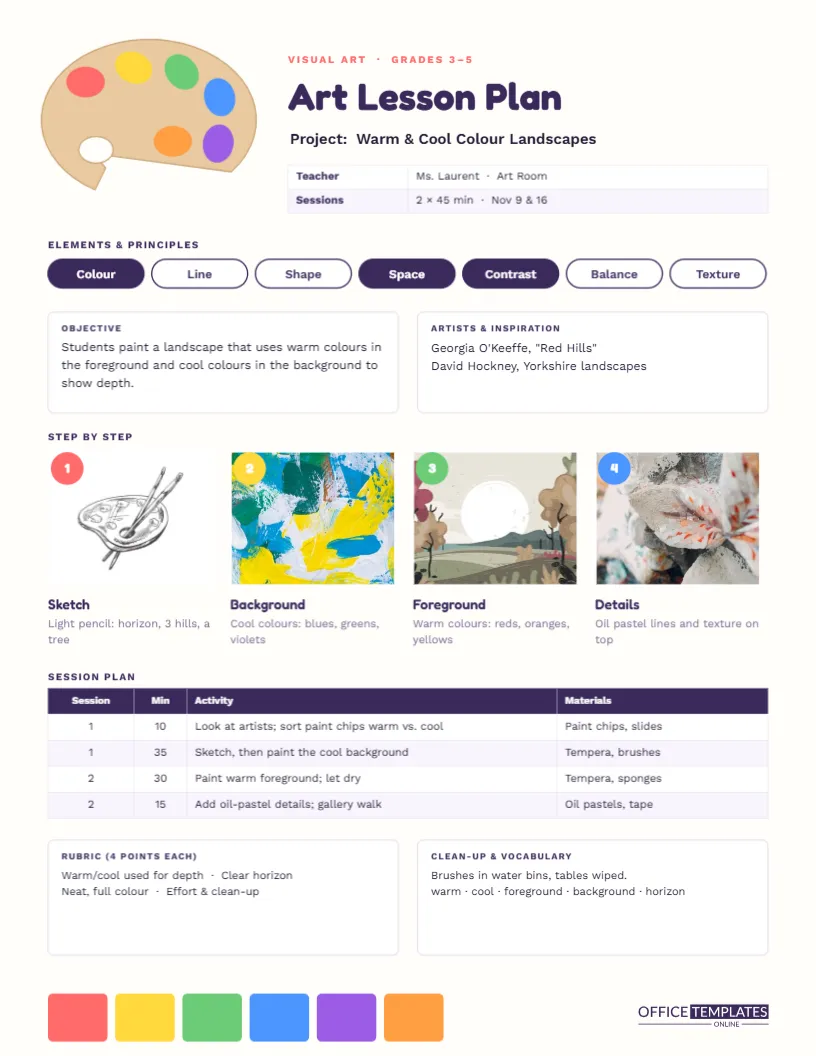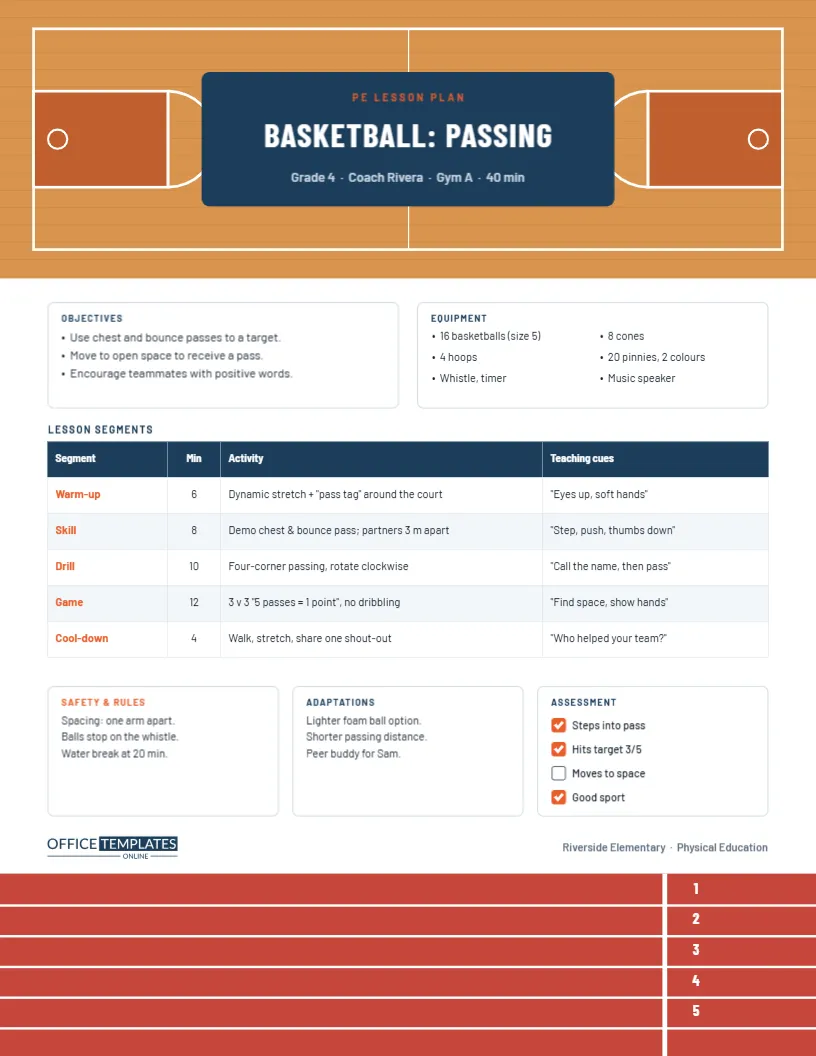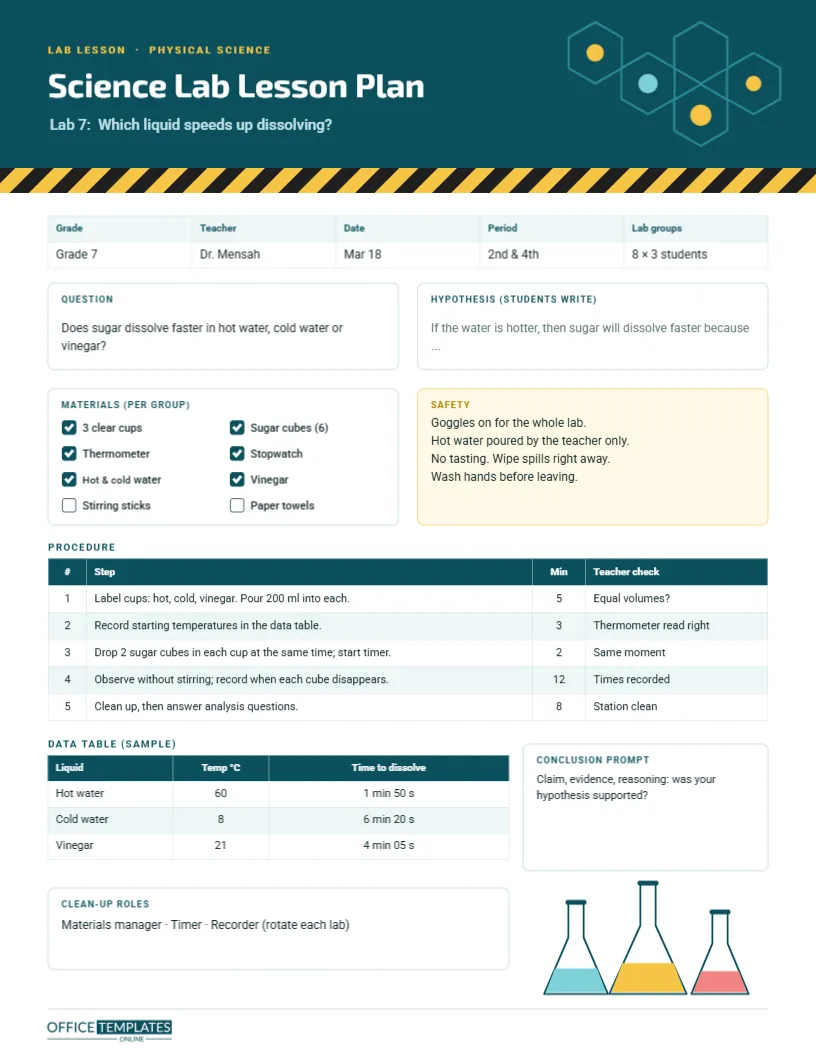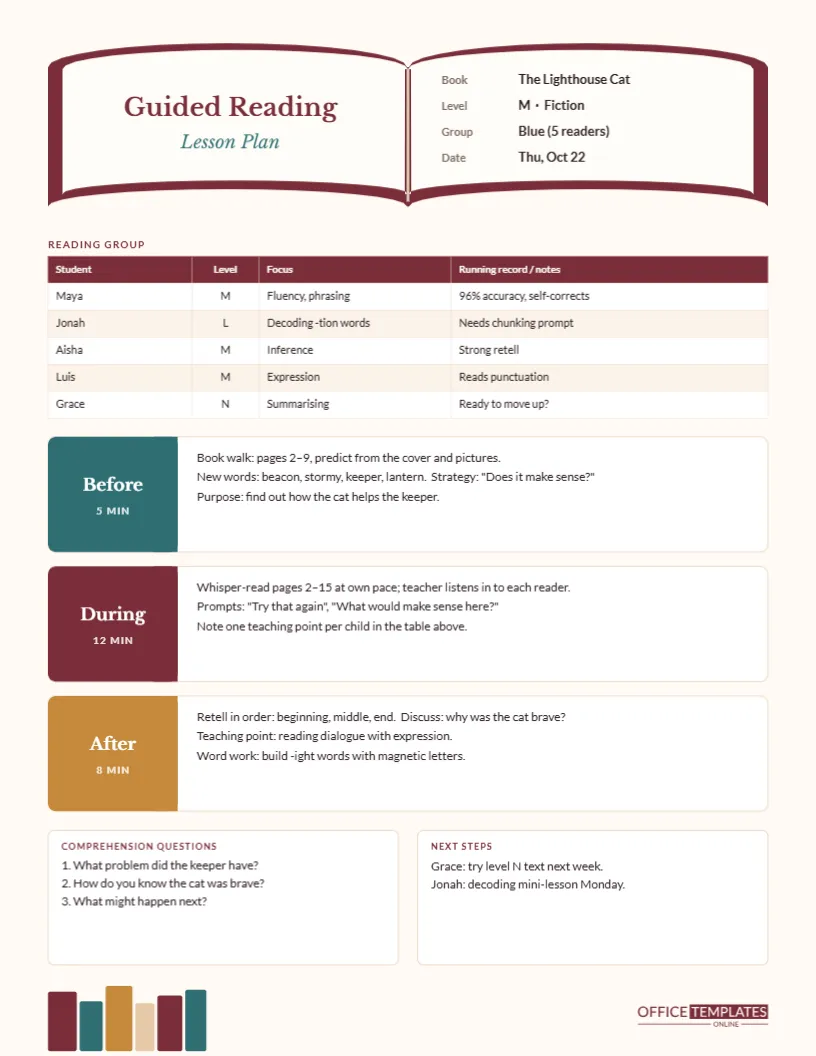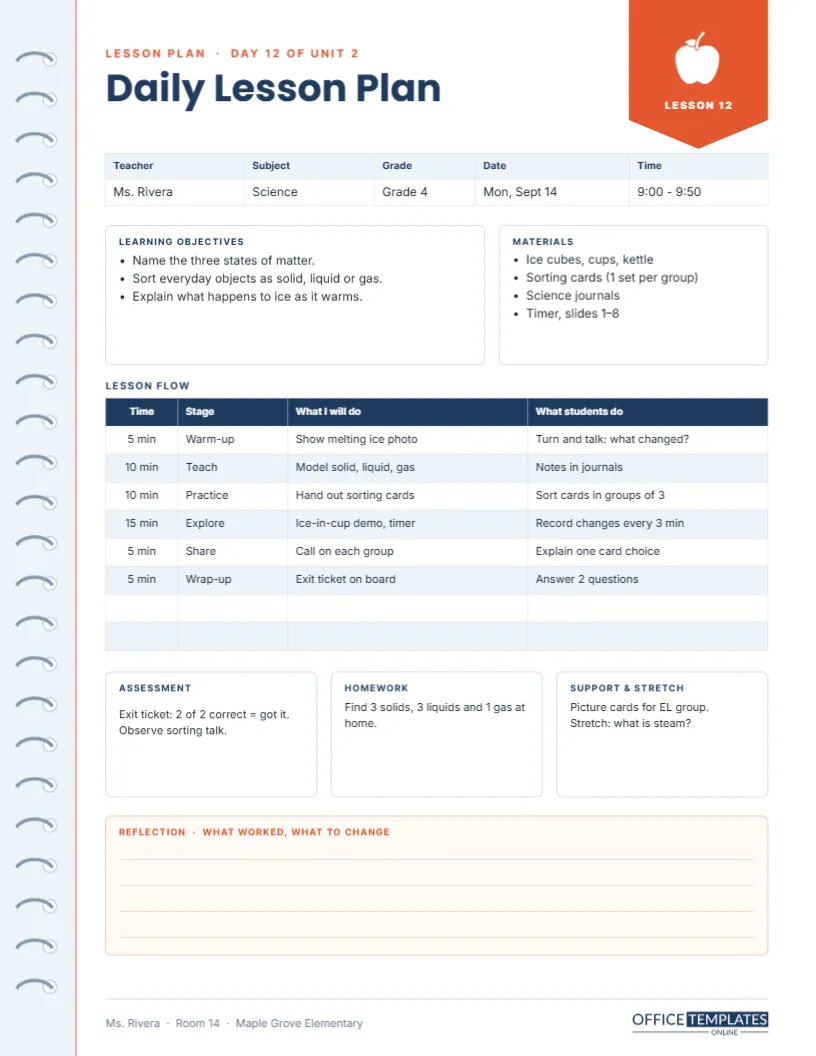
Most teachers plan the same way every evening: what am I teaching tomorrow, how long will each part take, what do I need on my desk, and how will I know it worked? A good daily lesson plan template answers those questions in one glance, without making you fill in pages of boxes nobody reads. This one fits a whole lesson on a single US Letter page and looks like a sheet torn from a teacher’s planner, complete with spiral binding down the left edge.
One Lesson, One Page
The template is laid out in the order you think through a lesson. A header names the plan and the lesson number, a short strip records the essentials, two boxes hold the objectives and materials, a table maps the lesson minute by minute, three small boxes cover assessment, homework and support, and a lined box at the bottom waits for your reflection. Nothing is decorative filler; every box earns its place.
Notebook Margin, Navy Type and a Coral Tab
A pale blue-grey margin runs down the left side with a column of spiral rings, and a thin coral rule separates it from the writing area, just like a real notebook. The title Daily Lesson Plan is set in bold navy Poppins, with a small coral line above it reading Lesson plan · Day 12 of Unit 2. In the top-right corner, a coral bookmark tab hangs from the edge, holding a white apple and the words LESSON 12. Clean navy table headers, soft blue striping, and a peach reflection box keep the page calm and easy to read.
The Lesson Details Strip
Directly under the title, a five-column table records teacher, subject, grade, date, and time. The sample shows Ms. Rivera teaching Grade 4 Science on Monday, September 14, from 9:00 to 9:50. Because it is a real editor table, you click into any cell to change it, and the layout stays aligned.
Objectives and Materials Side by Side
The wider left box lists the learning objectives as bullet points; the narrower right box lists materials. Keeping them next to each other is deliberate: as you write each objective, you can check you have the materials to teach it. The sample lesson on states of matter needs ice cubes, cups, a kettle, sorting cards, science journals, a timer, and slides 1-8.
Planning the Minutes: The Lesson Flow Table
The heart of the page is a four-column table: Time, Stage, What I will do, and What students do. Splitting teacher actions from student actions is one of the simplest ways to spot a lesson where students spend too long listening. Here is the sample flow:
| Time | Stage | What I will do | What students do |
|---|---|---|---|
| 5 min | Warm-up | Show melting ice photo | Turn and talk: what changed? |
| 10 min | Teach | Model solid, liquid, gas | Notes in journals |
| 10 min | Practice | Hand out sorting cards | Sort cards in groups of 3 |
| 15 min | Explore | Ice-in-cup demo, timer | Record changes every 3 min |
| 5 min | Share | Call on each group | Explain one card choice |
| 5 min | Wrap-up | Exit ticket on board | Answer 2 questions |
The table has two extra empty rows for longer lessons. Double-click the table or choose Edit Table Data to type your own stages, and use Add Row if your lesson has more parts. Add up the minutes as you go; the sample totals exactly 50.
Assessment, Homework and Support
Three equal boxes sit under the flow table. Assessment records how you will check learning (the sample uses a two-question exit ticket and observation of group talk). Homework holds the take-home task. Support and stretch reminds you of the picture cards for the English learners and an extension question for students who finish early.
Why the Reflection Box Matters
The peach box at the bottom, titled Reflection · what worked, what to change, has four ruled lines. Two minutes of honest notes after the lesson is the cheapest professional development there is. When you teach the same unit next year, these notes are worth more than the plan itself.
Filling It In Online
- Click any text box to replace the sample wording.
- Select a table and use Edit Table Data to edit cells quickly.
- Change the footer line to your name, room, and school.
- Delete the Lesson 12 tab text, or change it to the day’s date.
Colour Choices for Different Subjects
Some teachers colour-code their plans by subject: navy for science, green for maths, purple for literacy. Select the header text, table headers, and bookmark tab and change their colour together. Keep the reflection box a soft tint so it stays readable when you write in it by hand.
Printing a Week of Plans
Save the page with Download As PDF and print it on plain paper at actual size. Many teachers print five copies on Sunday, fill in the details by hand during planning time, and keep them in a binder. Because the left margin is wide, the page punches neatly for a three-ring or disc-bound planner.
Sharing With a Mentor or Coach
New teachers are often asked to submit plans to a mentor. A typed, tidy plan with timings and a clear objective makes those conversations easier. Download it as a PDF and attach it to an email, or print it for your observation folder.
A Quick Planning Routine
- Write one or two objectives you can actually check by the end.
- Choose the exit ticket question before planning activities.
- Fill the flow table, keeping student activity at least half the time.
- List materials and copy anything that needs copying.
- Leave the reflection box empty until after the lesson.
Daily Plan Questions
Can I use it for any grade?
Yes. The layout works from kindergarten to high school; only the wording changes.
Is the spiral edge part of the background?
The rings are a grouped decoration; select and delete the group if you want a plain margin.
What size does it print?
US Letter, 8.5 x 11 inches, portrait.
Can I add a standards row?
Yes. Add a text line under the objectives box, or add a column to the details strip.