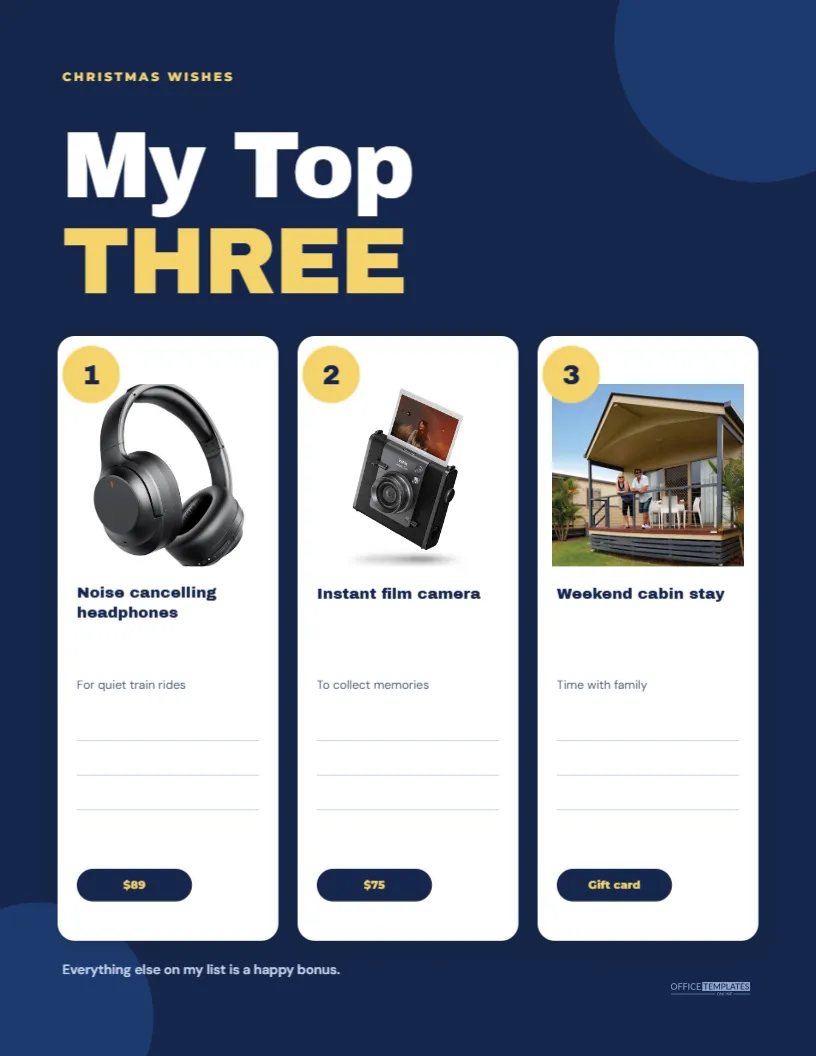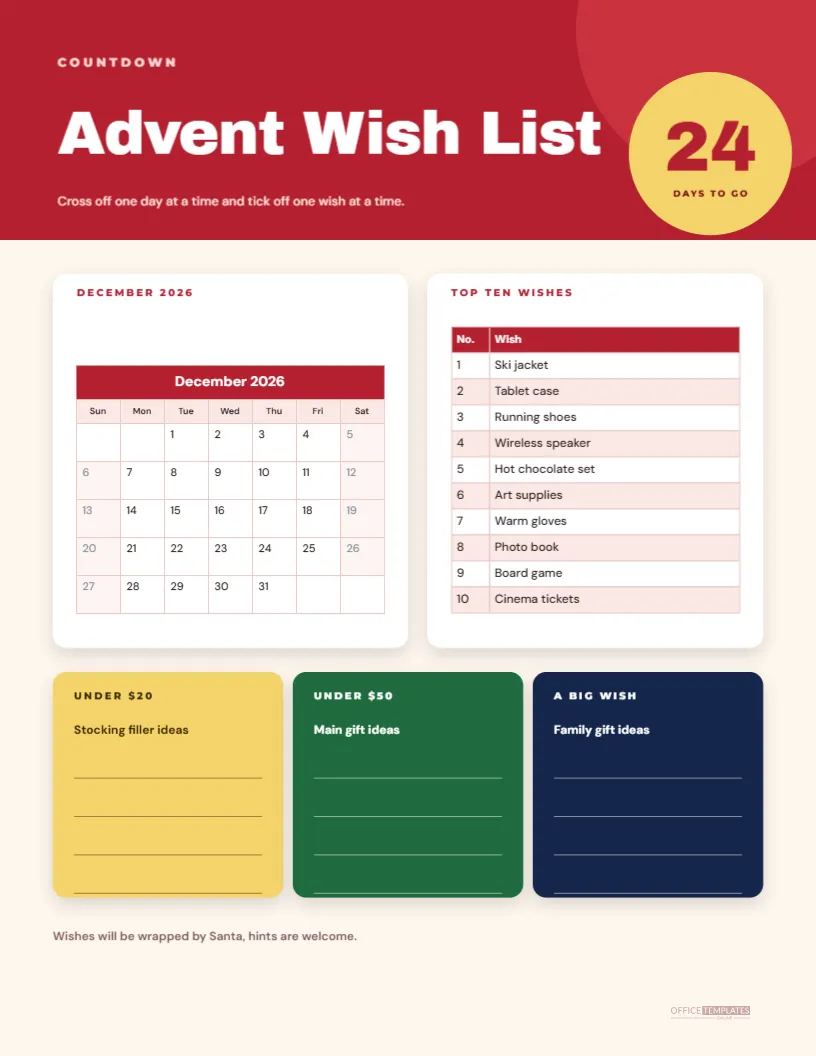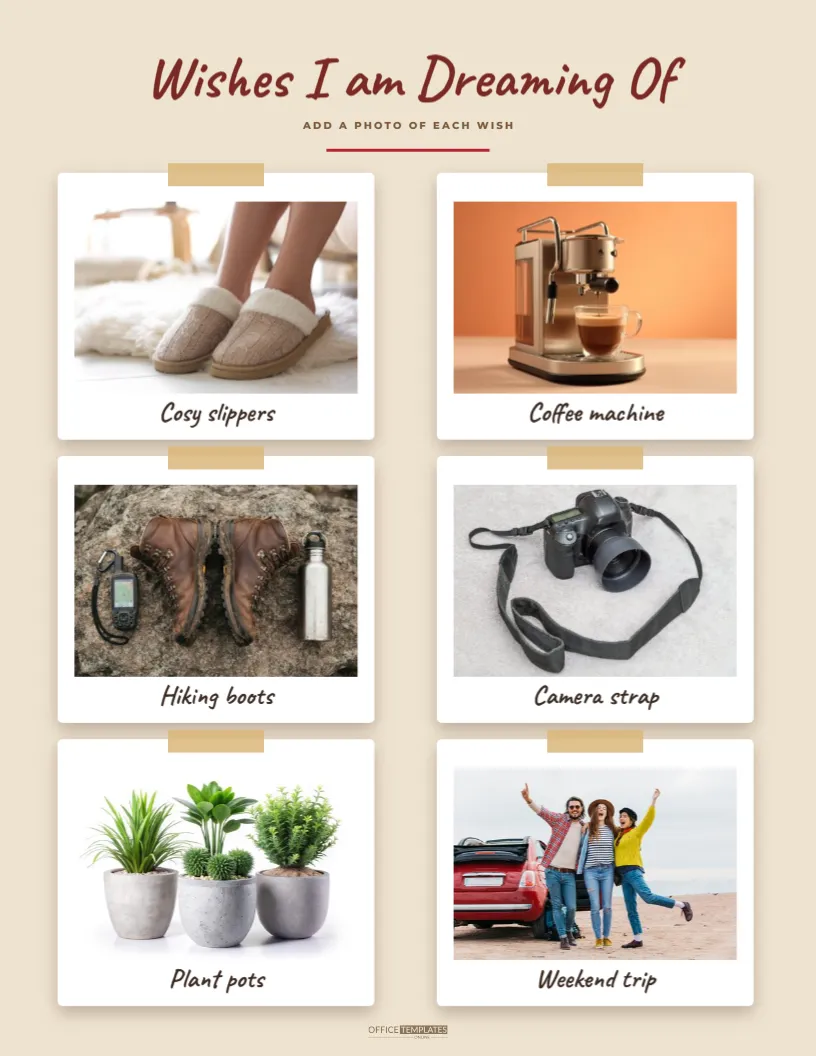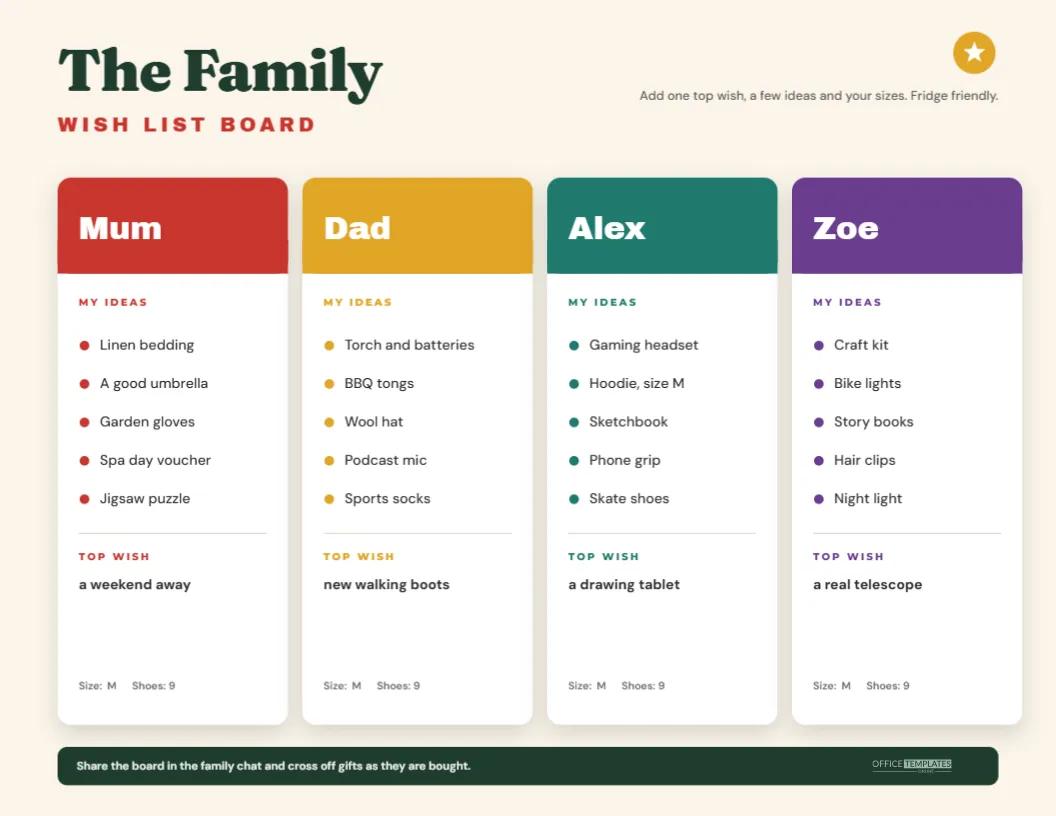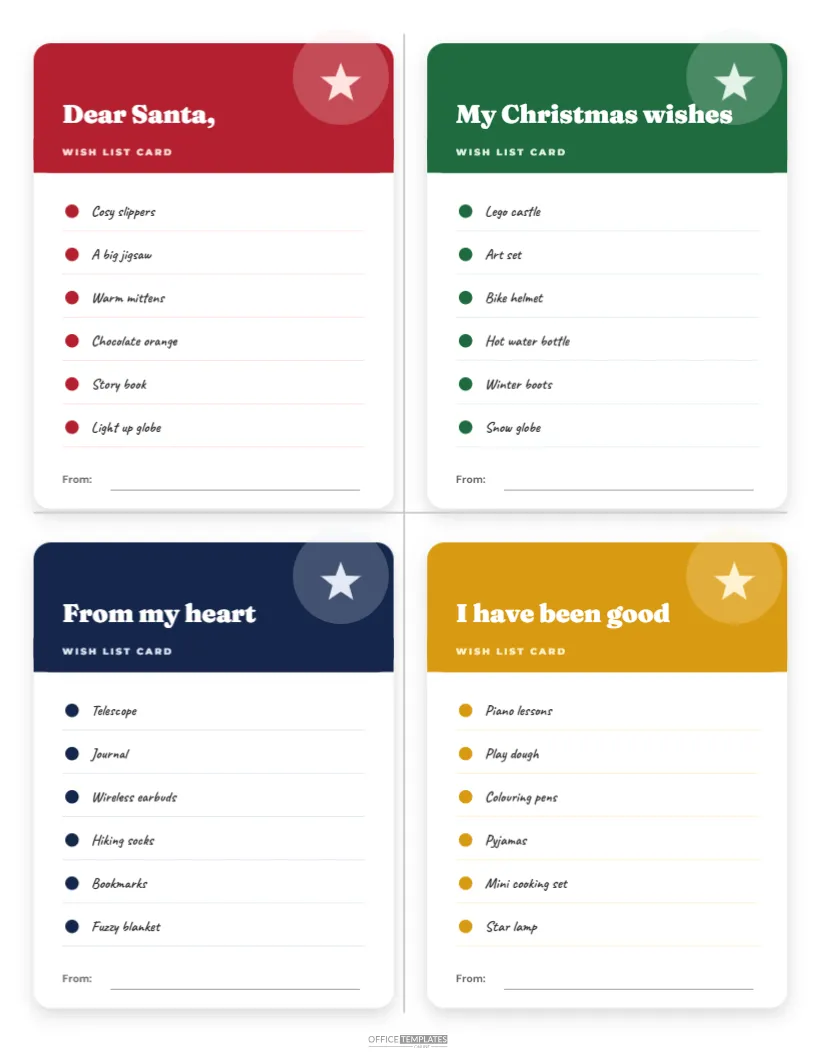
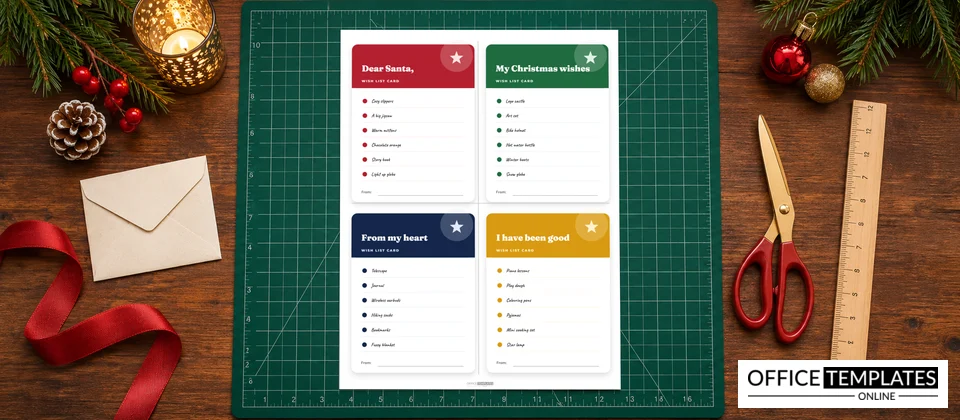
Sometimes a whole page is too much. These wish list cards put four small lists on one letter sheet, each in its own colour, ready to cut out and give away. Use them for each child in a class, for a family of four or for a stack of notes to pass out at a party.
The Cards, in Detail
Each card is 3.75 inches wide and 4.85 inches tall, with rounded corners and a soft shadow. A coloured header holds the title in a bold serif and a small label, WISH LIST CARD. A faint circle and a white star decorate the header. Below it are six lines, each with a coloured dot and a wish written in a handwritten style, and a From line at the foot.
Four Colours, Four Moods
| Card | Colour | Title | Sample wishes |
|---|---|---|---|
| Top left | Red | Dear Santa, | Cosy slippers, a big jigsaw, warm mittens |
| Top right | Green | My Christmas wishes | Lego castle, art set, bike helmet |
| Bottom left | Navy | From my heart | Telescope, journal, wireless earbuds |
| Bottom right | Gold | I have been good | Piano lessons, play dough, pyjamas |
How to Fill Them In
Click a wish and type your own, or print and write by hand on the rules. If you print, you can leave the sample text and cover it with sticky notes, but it is easier to delete the sample in the editor first. The dots and the rules stay in place so the card keeps its look.
Cutting Guides
A thin grey line runs between the cards, both across and down, so you can see where to cut. Use a paper trimmer or scissors, and cut along the guides. The cards have a margin of white around them, so there is room for small errors. For a clean edge, trim a hair outside the card shadow.
Ideas for Using the Cards
- Tie a card to a stocking for a child to fill in.
- Post cards to relatives with a stamp and a message.
- Give a card to each guest at a gift swap.
- Use cards as place settings with each person’s wishes.
Classroom and Group Use
Teachers can print twenty four cards on six sheets for a class, with the child’s name in the title. Group leaders can use the cards at a toy drive, where each child’s card goes onto a tree. Because the layout is simple, volunteers can read the wishes quickly.
Common Questions for the Wish List Cards List
Can I change the card colours?
Yes. Select the header and choose a new fill. The dots and lines can match.
Can I print on card stock?
Yes. A 200 gsm card stock gives a sturdy card that can stand on a table.
Can I make all four cards the same?
Yes. Copy one card and paste it three times.
Which fonts are used?
A bold serif for the titles, a handwritten style for the wishes and spaced capitals for the label.
Mailing the Cards
Fold a card in a small envelope with a short note. A card fits in an A6 or a C6 envelope. Add a stamp and a sticker, and send it a few weeks before Christmas so that relatives have time to shop.
Making Your Own Set
Create a set for a different theme by changing the title and the colours. A set for pets, a set for teachers or a set for a team can use the same layout. A small stack tied with ribbon also makes a charming gift for a child who is learning to write letters.
How to Cut the Cards Neatly
Use a paper trimmer if you have one. Cut along the vertical guide first, then along the horizontal guide, which gives you four rectangles. Trim any white margin if you prefer an edge to edge colour. Rounded corners can be made with a corner punch, which gives a polished look. Work on a flat surface and keep fingers clear of the blade.
Handwriting Versus Typing on Cards
Typed wishes look neat, while handwritten wishes feel personal. Children often love to write their own wishes in crayon. For a mixed approach, type the title and write the wishes by hand on the rules. Because each card has its own lines, handwriting looks natural and tidy.
Gift Ideas for Each Colour
Choose a card colour to match a person. Red for the family cheerleader, green for the gardener, navy for the quiet reader and gold for the performer. Matching colours makes a pile of cards attractive on a table, and people enjoy finding their own card. It is a small detail that makes a big difference.
Customising Titles for Each Child
Replace the card title with the name of the child, such as Maya’s Wishes or Leo’s List, and print a set for every child in the family. Name cards make it easier for relatives to choose gifts, and each child feels special. Keep titles short so they fit on one line in the header.
Cards for Parties and Gift Exchanges
At a gift exchange, give each guest a card to fill in a few weeks before the event. Collect the cards, and give each person the card of the guest they will buy for. The format keeps everyone’s wishes short and clear, and it is a pleasant alternative to a long questionnaire.
Storing and Reusing the Cards
Keep a few blank cards in a folder, so you can use them again next year. Print on sturdy card stock, and they will last. Some families keep the old cards in a jar, and read them each Christmas Eve to see how wishes have changed over the years.
Using Cards for Teachers and Helpers
Teachers, nursery staff and coaches can use the same cards to collect small wishes from children, and then send them home. A parent who receives a card with a child’s own words feels closer to the classroom. Keep the cards short, and ask children to write only two or three wishes, which makes the task friendly and calm.
Quick Setup Checklist for the Cards
Choose your colours, type a title for each card, edit the six wishes and add names on the From lines. Print one test page, cut it carefully and check that the text fits. Then print the number of pages you need, and cut along the guides.