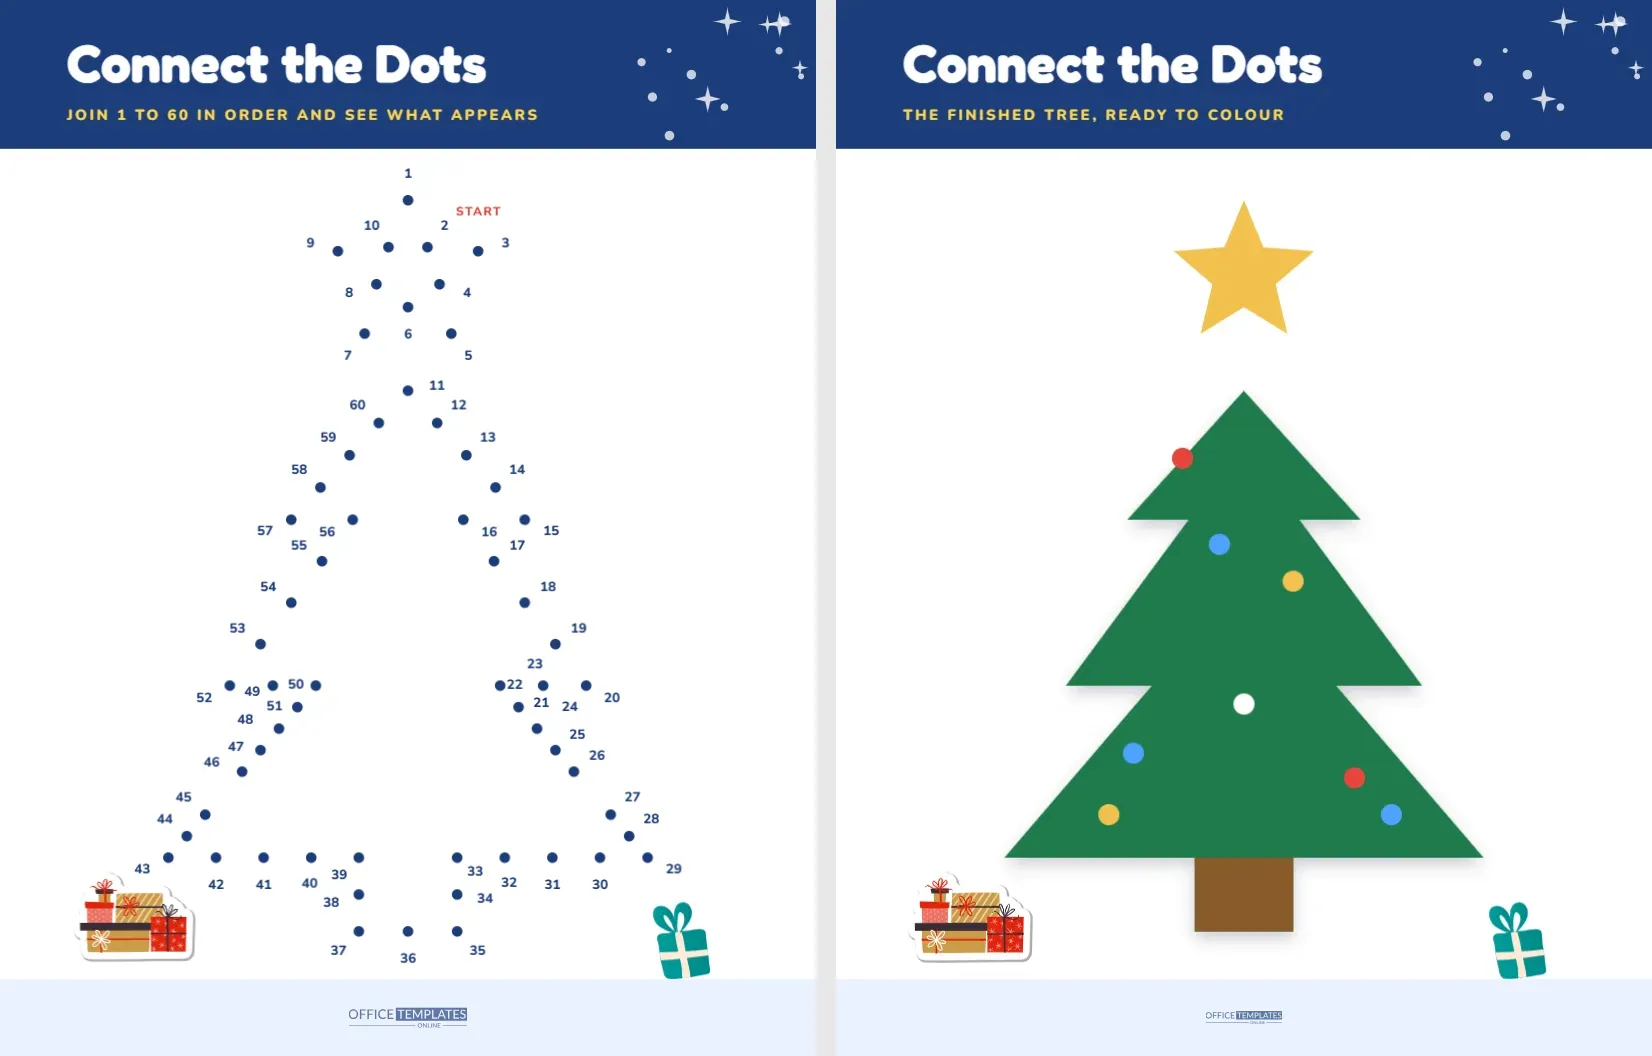
The magic of connect the dots is the moment the picture appears. A cloud of numbered dots turns into a shape, and a child who thought it was random suddenly sees a tree. This page has sixty numbered dots, enough to keep a six or seven year old busy for ten minutes, and a finished picture on page two to colour.
Reading the Dot Page
A royal blue band stretches across the top with scattered snow dots, the title Connect the Dots in white and a gold line telling players to join 1 to 60 in order. Below it, the page is white and carries the sixty dots in navy, each with its number written beside it in a bold small face. A word START in red sits next to dot 1. At the bottom, a pile of gifts on the left and a teal present on the right stand beside a pale blue strip that carries the logo.
What the Dots Make
When joined in order, the dots form a five pointed star at the top, drawn in ten dots, and a three tier Christmas tree beneath it, drawn in fifty dots, with a short trunk at the base. After point 10 closes the star, the line continues to point 11 at the top of the tree, which draws a short stem between them. The final dot returns near the first tree dot, so the figure closes neatly.
Dot Counts for Each Part
| Part of the picture | Dot numbers | How many |
|---|---|---|
| Five pointed star | 1 to 10 | 10 dots |
| Tree, trunk and all three tiers | 11 to 60 | 50 dots |
| Whole picture | 1 to 60 | 60 dots |
How the Numbers Are Placed
Crowded dot pages are hard to read because numbers collide with dots. Here the numbers were pushed outward from the outline, away from the shape, and then nudged apart so that neighbouring labels do not touch. At the sharp corners of the tree, where several dots are close together, a few numbers sit a little farther from their dots than usual. A child can still follow the sequence by looking for the next number, but a young child may need a grown up to point out the tricky corners. If you want to tidy any label, click it and drag it closer to its dot.
Counting Skills in Disguise
Connect the dots is one of the sneakiest number activities. To draw the picture, a child must find each number in order, a skill known as sequencing. Because the numbers run up to sixty, children practise counting beyond twenty and noticing patterns in the tens. Ask the child to say the numbers aloud as they draw. For an extra challenge, cover the numbers from 31 to 40 with sticky notes and ask the child to guess what comes next.
The Finished Picture on Page Two
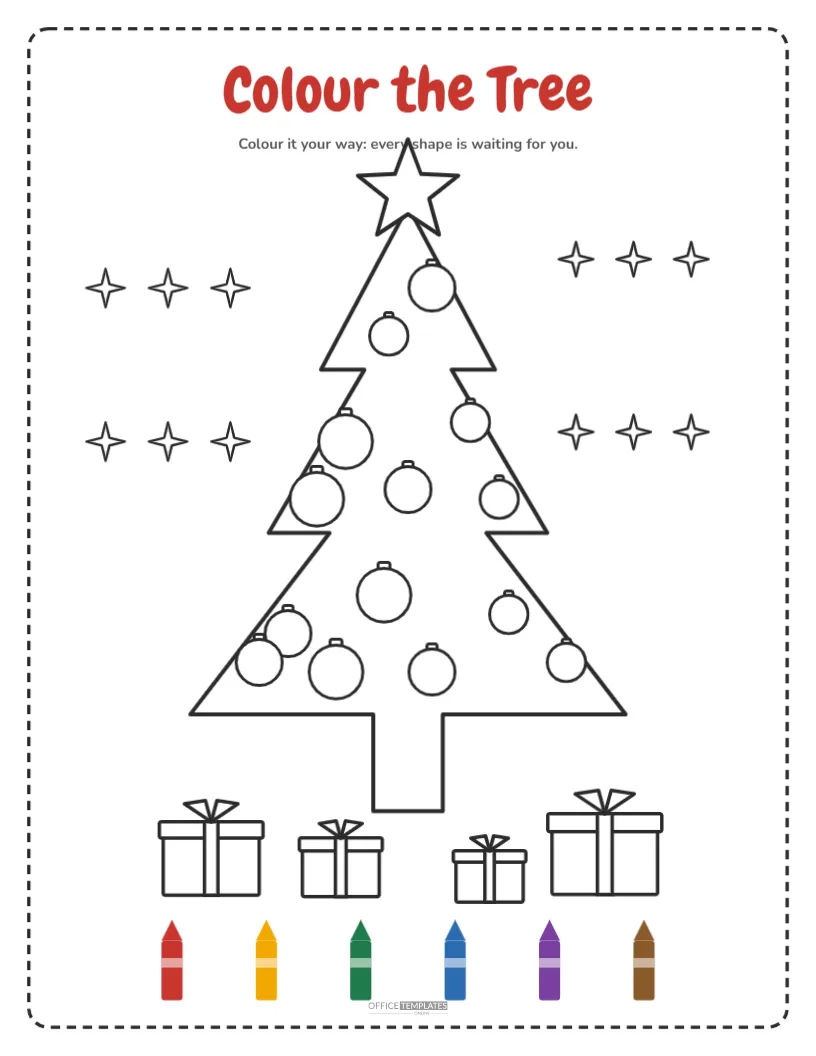
Page two shows what the tree looks like when it is complete: a solid green tree with a brown trunk, a gold star and baubles in red, blue, gold and white. The same blue band and gift art frame the page, and the heading says THE FINISHED TREE, READY TO COLOUR. Use it as a model for the child, or print it and let the child decorate it with their own colours. Because the tree is built from simple shapes, you can recolour the baubles or the tree in the editor before printing.
Step by Step With a Young Child
- Find dot 1 near the top and place a pencil on it.
- Look for dot 2 and draw a straight line to it.
- Keep going, saying each number aloud as you draw.
- At the star, draw all the way to dot 10 and then continue to dot 11 on the tree.
- Finish at dot 60, and see how the line closes the shape.
- Erase any stray marks and colour the tree.
Ways to Extend the Activity
- Colour the tree in a pattern: stripes, spots or ornaments in a repeating order.
- Add snow with white crayon, which shows up on the colour.
- Glue on sequins or small pom poms for baubles.
- Trace the finished shape onto fabric or card for a craft.
- Write a Christmas wish beneath the tree.
Editing the Page
Each dot is a small circle and each number is a text box, so you can move or delete any of them. If you want a smaller puzzle for younger children, delete half the dots and renumber the rest, keeping the shape recognisable. A good reduction keeps the star and every second tree dot. Remember to keep the page tidy by leaving enough space around each number. The gift art and the blue footer can be recoloured, and the logo sits in the footer.
Printing the Dot Page
The page prints in colour or black and white. The blue band is the only large colour area, so the page is light on ink. Use a sharpened pencil for accuracy and a ruler for children who like straight lines. Printing on thicker paper helps if the child will colour with markers, since the ink will not bleed through.
Using the Page With Older and Younger Children
Sixty dots suit a six or seven year old. For a four year old, offer help by drawing every other line yourself, or by circling the next dot in advance. For an older child, make the puzzle more challenging by covering the numbers with a strip of paper and asking them to work out the shape from the position of the dots alone, then check with the numbers. Another game is to time the child and see whether they can beat their record the next day on a fresh copy. These small changes let one sheet suit several ages in the same family.
Parent Questions About the Dot Tree
Why does the tree not look closed at the bottom?
The tree is a closed shape, and the final dot returns to the first tree dot. The trunk is a small rectangle at the base.
What age is it for?
It suits ages five to eight. A younger child can try it with a parent drawing alternate lines.
Can I print the finished tree without the dots?
Yes. Print page two on its own to use as a colouring sheet.
Can I change the number of dots?
Yes, but renumber carefully, and check the order by reading the numbers aloud in sequence.