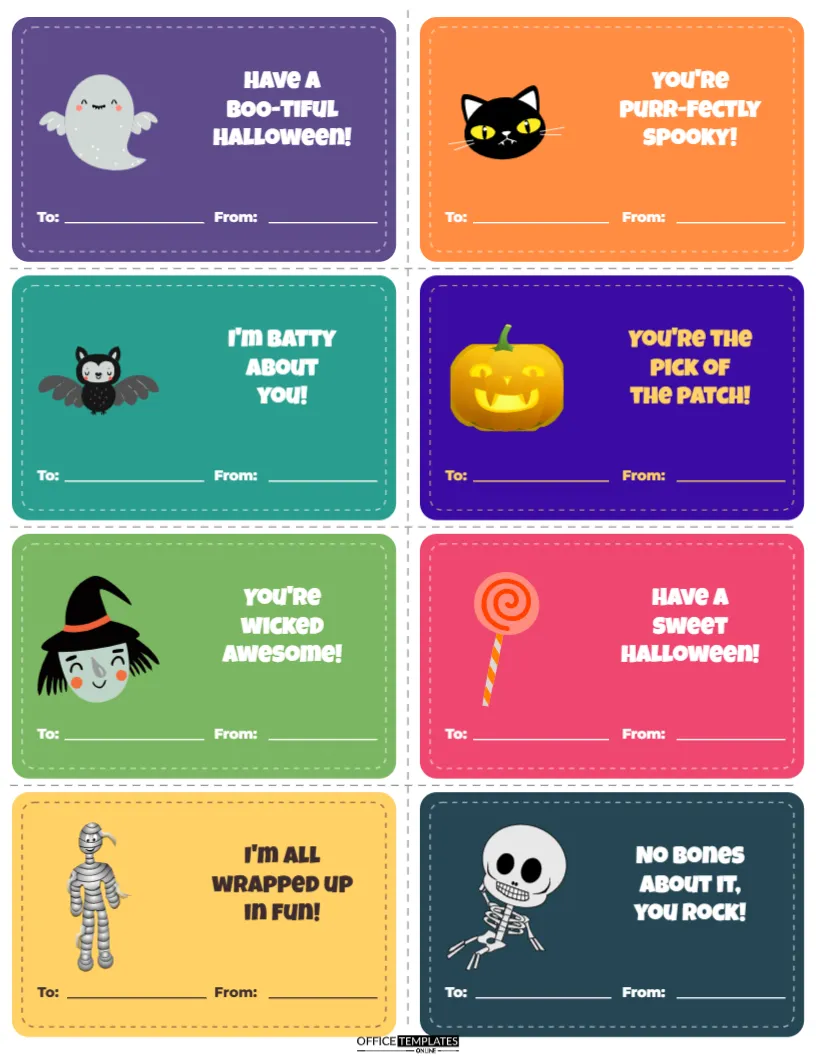
Valentine’s Day has its card swap, so why not Halloween? Classroom exchange cards are a fun, inexpensive way for children to share a little message with every classmate. Each card has a cute character and a silly pun, plus space to write a name. Tape on a lollipop, a pencil, or a sticker, and the card becomes a treat too.
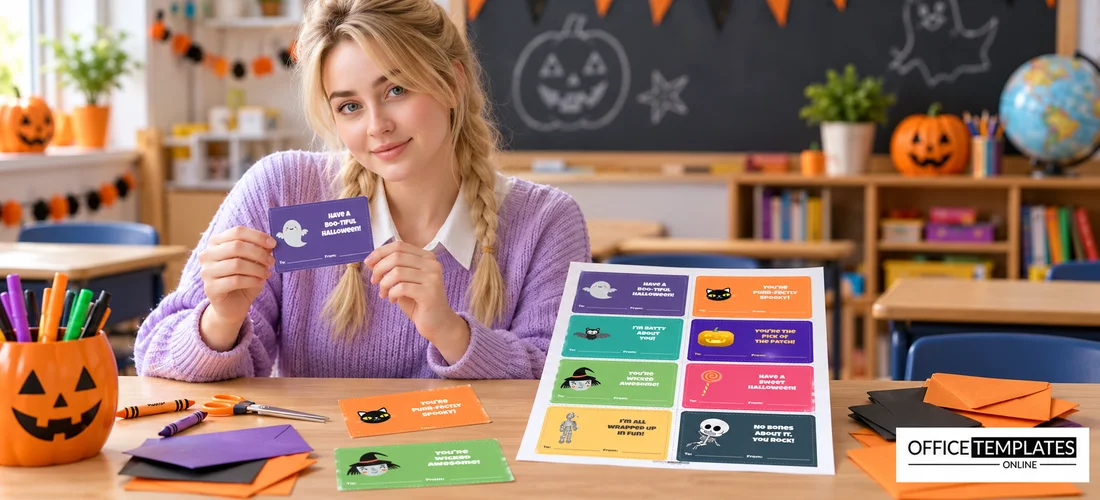
Eight Characters, Eight Puns
The sheet is US Letter size, 8.5 x 11 inches, with eight cards arranged two across and four down. Each card is about 4 x 2.5 inches with rounded corners and a dashed inner border. Every card has its own colour and character:
- A friendly ghost wearing a witch’s hat on purple: Have a BOO-tiful Halloween!
- A black cat face with yellow eyes on orange: You’re purr-fectly spooky!
- A cuddly bat on teal: I’m batty about you!
- A glowing jack-o’-lantern on deep indigo: You’re the pick of the patch!
- A smiling green-faced witch on leaf green: You’re wicked awesome!
- A swirly lollipop on raspberry pink: Have a sweet Halloween!
- A wrapped-up mummy on sunny yellow: I’m all wrapped up in fun!
- A grinning skeleton on deep teal: No bones about it, you rock!
The puns are set in bold Luckiest Guy lettering, and each card ends with To: and From: lines. Dashed cut lines run between the cards, and the OTO logo sits at the bottom of the sheet.
How Many Sheets to Print
Each sheet gives you one of each design. For a class of 24, print three sheets, which gives three of each character. Many children like to give everyone the same card, while others pick a different pun for each friend. Here is a quick guide:
| Class size | Sheets to print | Cards you get |
|---|---|---|
| 16 children | 2 sheets | 16 cards |
| 20 children | 3 sheets | 24 cards (4 spare) |
| 24 children | 3 sheets | 24 cards |
| 30 children | 4 sheets | 32 cards (2 spare) |
 Turning Cards into Treats
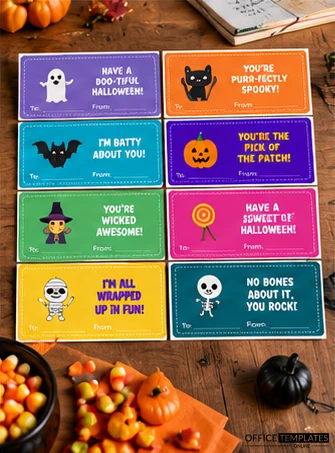
A card on its own is sweet; a card with a little extra is a hit. Punch two small holes and thread a lollipop stick through, tape on a pencil or a glow stick, or attach a small bag of stickers with a paper clip. Many schools prefer non-food treats, so check before adding sweets. Popular non-food options include spider rings, mini erasers, bouncy balls, temporary tattoos, and bookmarks.
Writing the Cards with Children
Writing classmates’ names is great handwriting practice. Give your child a printed class list so they can copy names correctly, and spread the writing over a few evenings. Younger children can write just their own name on the From line, while an adult fills in the To line. For an inclusive exchange, most teachers ask that every child receives a card from everyone, so nobody is left out.
Changing the Puns and Colours
Every pun is editable. Double-click and type your own, or translate the cards for a bilingual class. Some other puns families love:
- Have a fang-tastic Halloween!
- You’re one in a candy-on!
- Owl always be your friend!
- You make my heart skip a beat… I mean, a bat!
Each card background is a single rounded shape, so recolour it in one click. The characters are editable vector illustrations: select one to recolour it from its colour swatches, or swap it for another Halloween icon from the editor. Fonts are Luckiest Guy and Montserrat from Google Fonts.
Making It Fair for Every Child
A classroom card swap should leave every child feeling included. Most teachers set a simple rule: if you bring cards, bring one for everyone. Send home a class list with first names so families can write each card, and suggest that children sign their own name on every card even if a grown-up writes the rest. For children who forget or cannot bring cards, keep a spare set printed from this sheet in your desk drawer, ready to be filled in quietly at school. Some classes make the cards together during a craft session instead, so every child takes part on equal terms. A small decorated paper bag or envelope taped to each desk works as a mailbox, and children can deliver their cards walking around the room, which is half the fun.
A Card Swap as a Class Activity
The exchange also makes a lovely lesson. Younger children practise reading classmates’ names and matching them to desks. Older students can write a sentence on the back of each card about something they like about the receiver. Some teachers turn the puns into a short word-play lesson: why is boo-tiful funny, and what other words can be turned into Halloween jokes? Children often enjoy inventing their own puns and voting for the class favourite.
Cutting Them Out Neatly
- Print on white card stock, around 200 to 250 gsm, so the cards stand up to a school bag.
- Use a paper trimmer along the dashed lines for straight edges, or let older children cut with scissors.
- Cut the centre vertical line first, then the three horizontal lines.
- Round the corners with a corner punch if you want a polished finish.
Swaps for Scouts, Teams and Party Bags
The cards also work as tags on party bags, as notes in trick-or-treat bags for neighbours’ children, as lunchbox surprises, as place cards at a kids’ Halloween party, or as little thank-you notes for helpers. Scouts, Sunday schools and sports teams use them for team swaps too.
Exchange Card Questions
When should the cards be exchanged?
Usually at the class Halloween party, often during snack time, so everyone opens their cards together.
Do I need to print in colour?
Colour looks best, but the cards still work in black and white, and children can colour them in.
Can children make their own puns?
Yes. Edit a card to leave the pun blank, and let children write their own.
Are these suitable for preschool?
Yes. The characters are friendly rather than scary, so they suit little ones too.
Print a few sheets, grab some markers, and get writing. Every classmate deserves a little Halloween hello.